The First Digital Actor Project Using Real Time Apple Facial AR Tracking
With Unreal Engine 4.
An interview about The Lighthouse, remade using the Apple AR Kit.
Willem Dafoe was interviewed about the movie The Lighthouse, in which he appeared.
I used the footage of this interview to track his face and reimagine it in real time using Unreal Engine 4. This is the final result of that process, after I superimposed his voice on the reconstructed scene.
This video summarizes the process involved in creating this scene. More detailed explanations will be posted on the blog as soon as possible.
Apple Facial AR Tracking
The TrueDepth Front-facing Camera System for iPhone X (and onwards) enables real-time recognition and tracking of a subject’s face.
I registered for the Apple developer program to use their facial AR tracking software in UE4. To install the app on my iPhone 11 and track the face in real time, I had to generate a provisioning profile that consists of the certificate, app ID, and device information.
Especially when you enter the bundle ID in the iOS project settings, be careful not to misspell it; it should be the same as the one you entered when creating your app ID.
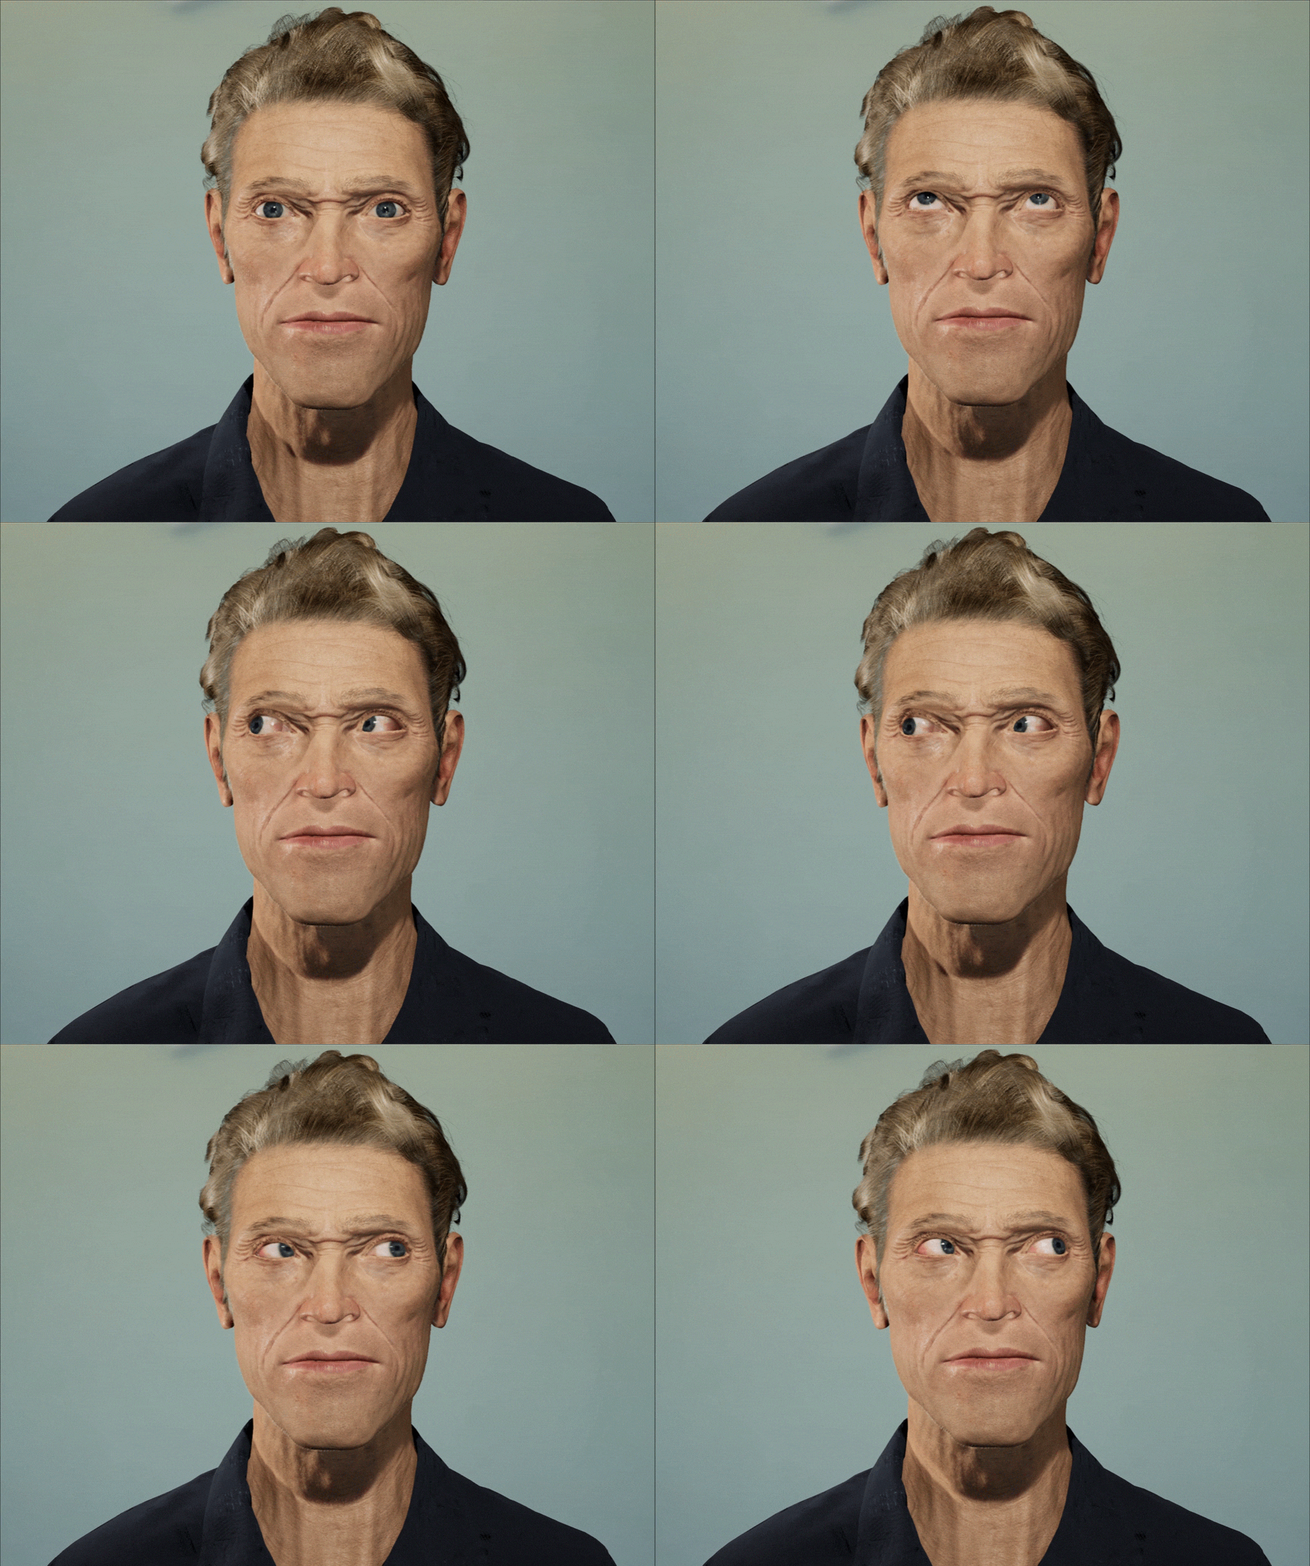
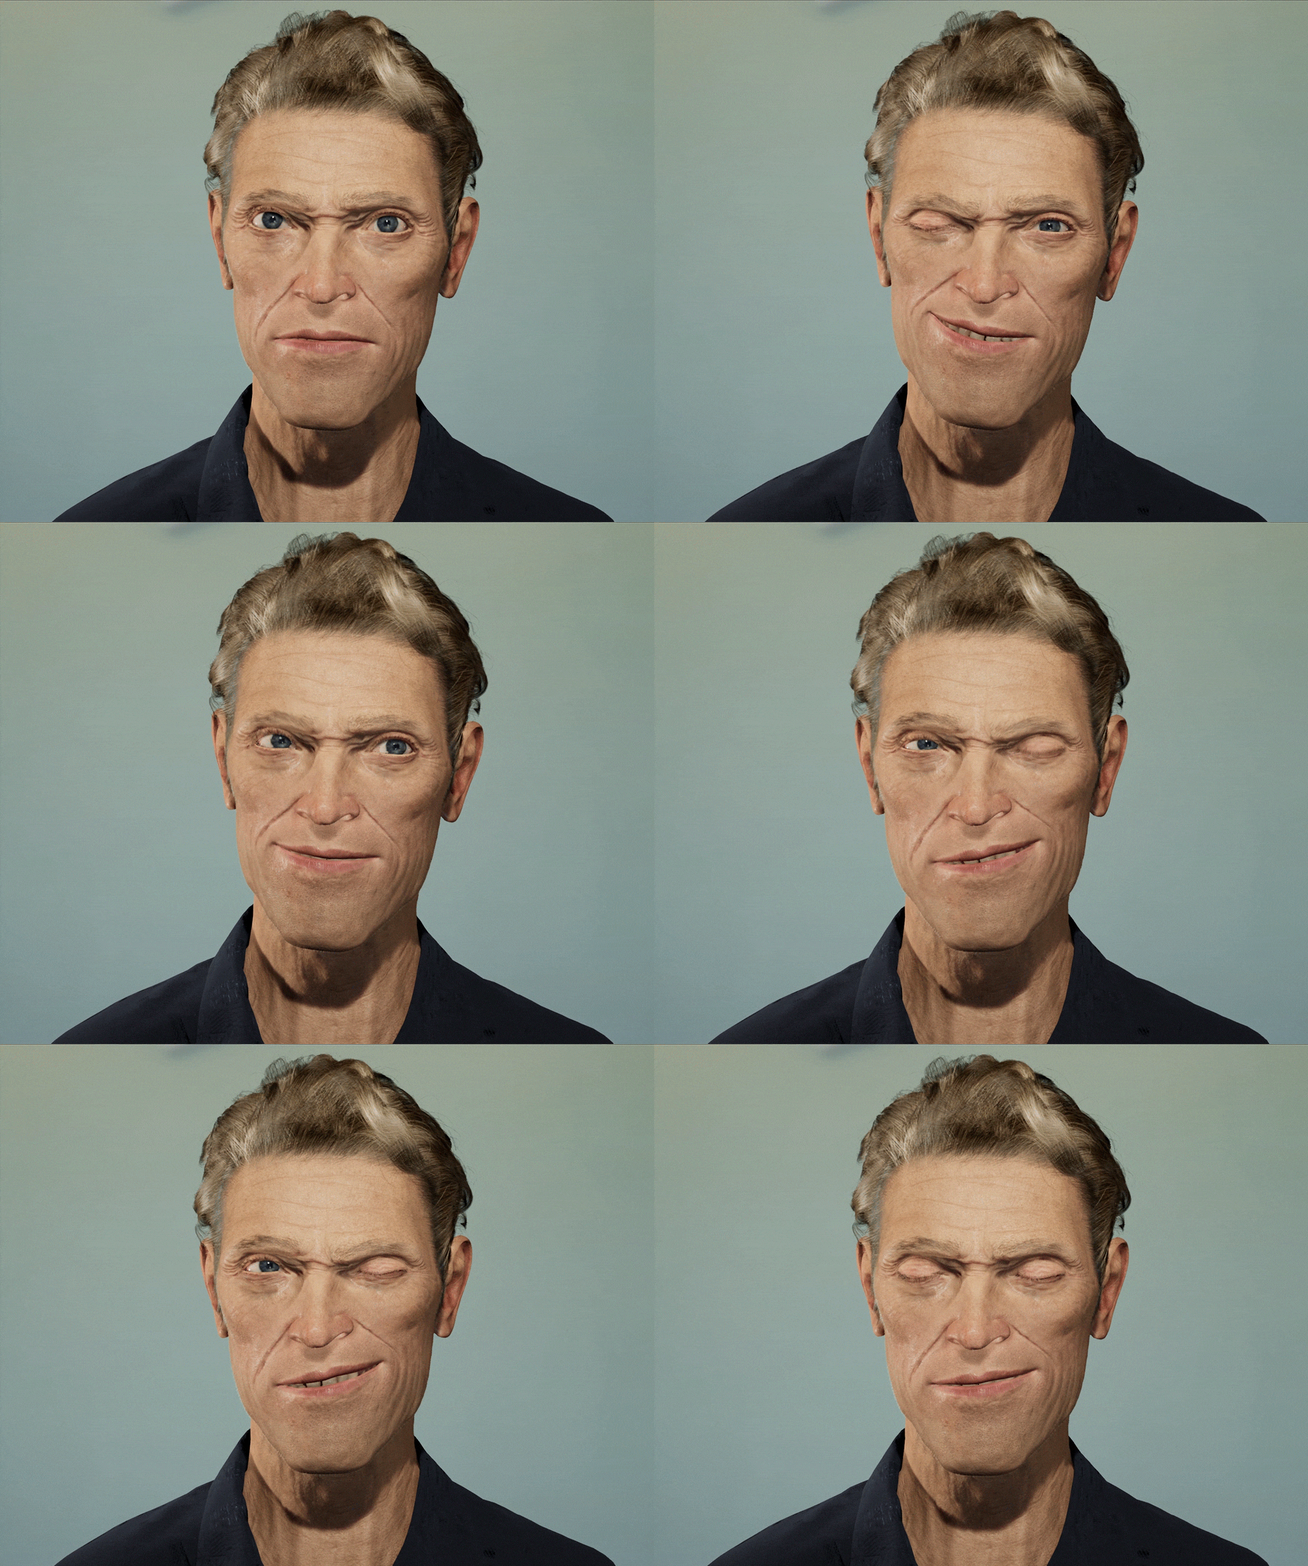
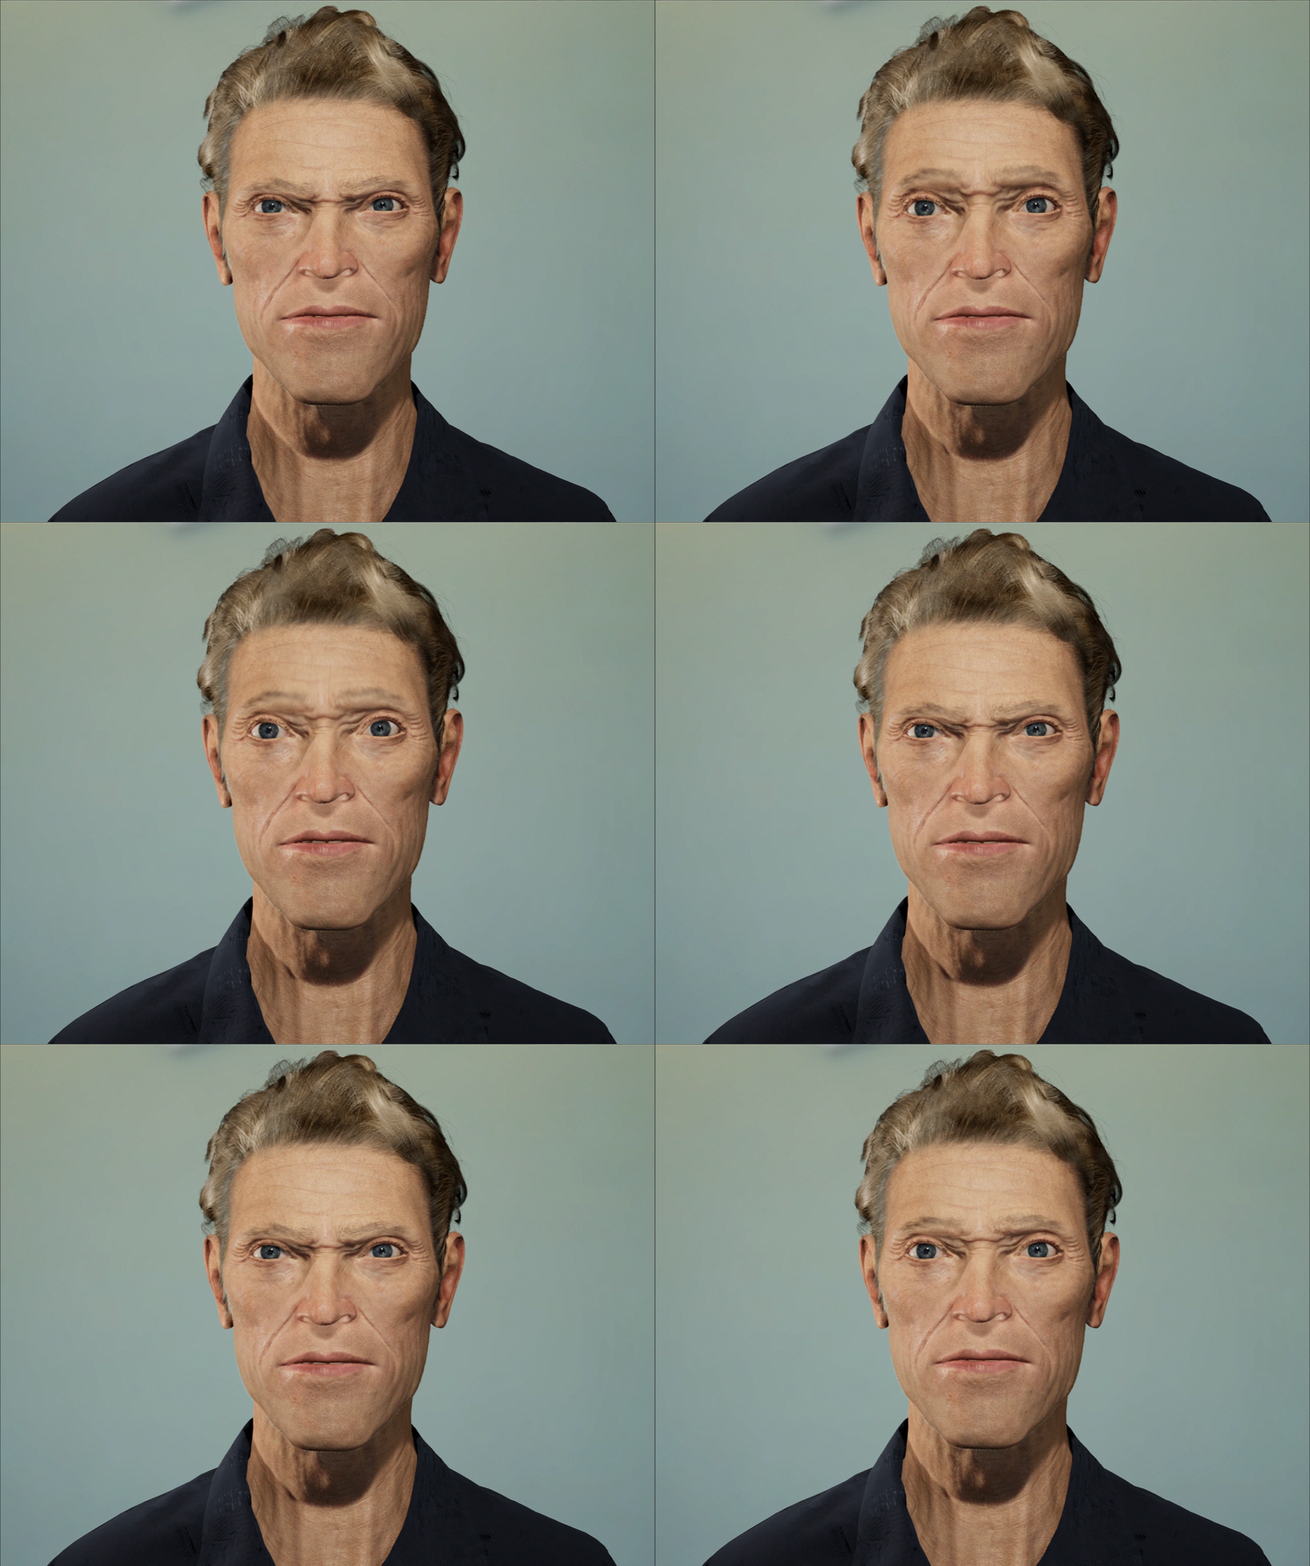
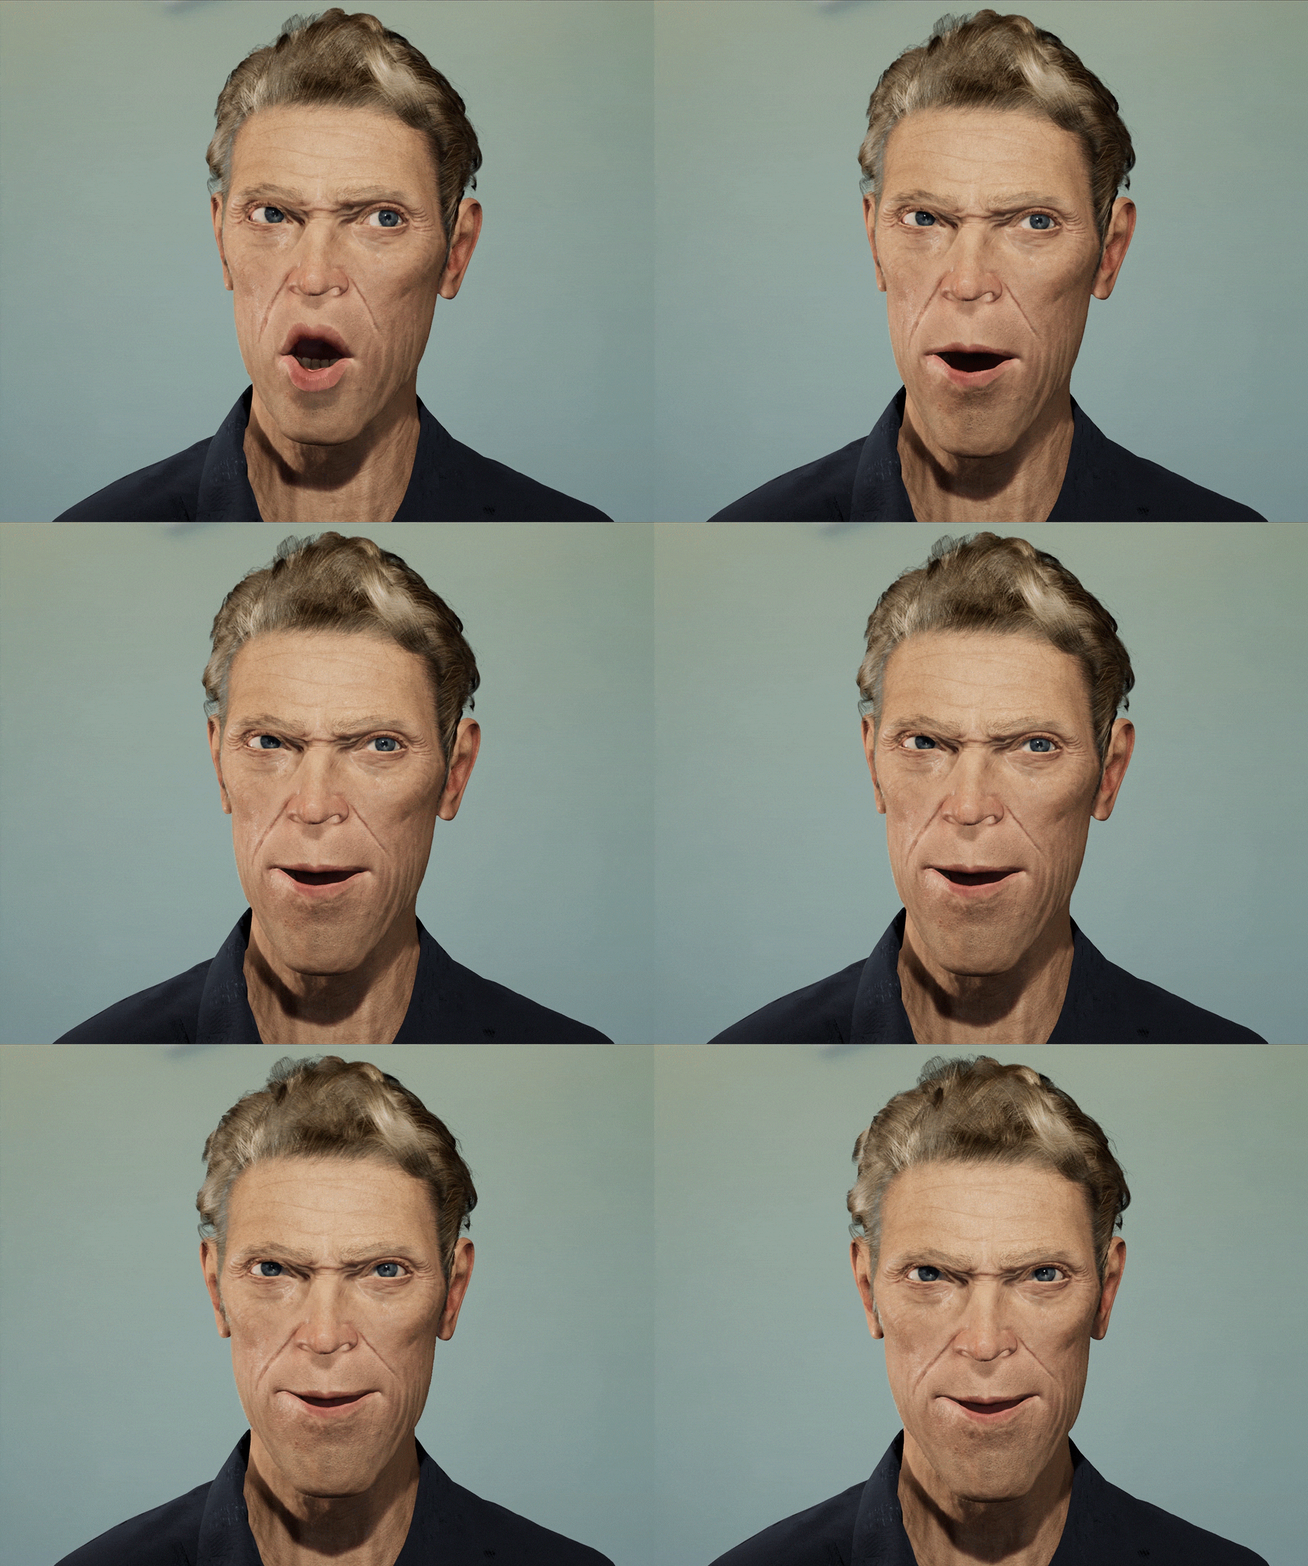
Once the necessary files were generated, I installed the app on my iPhone, after which I was able to track the face of my subject and check the changes in weight for each specified area.
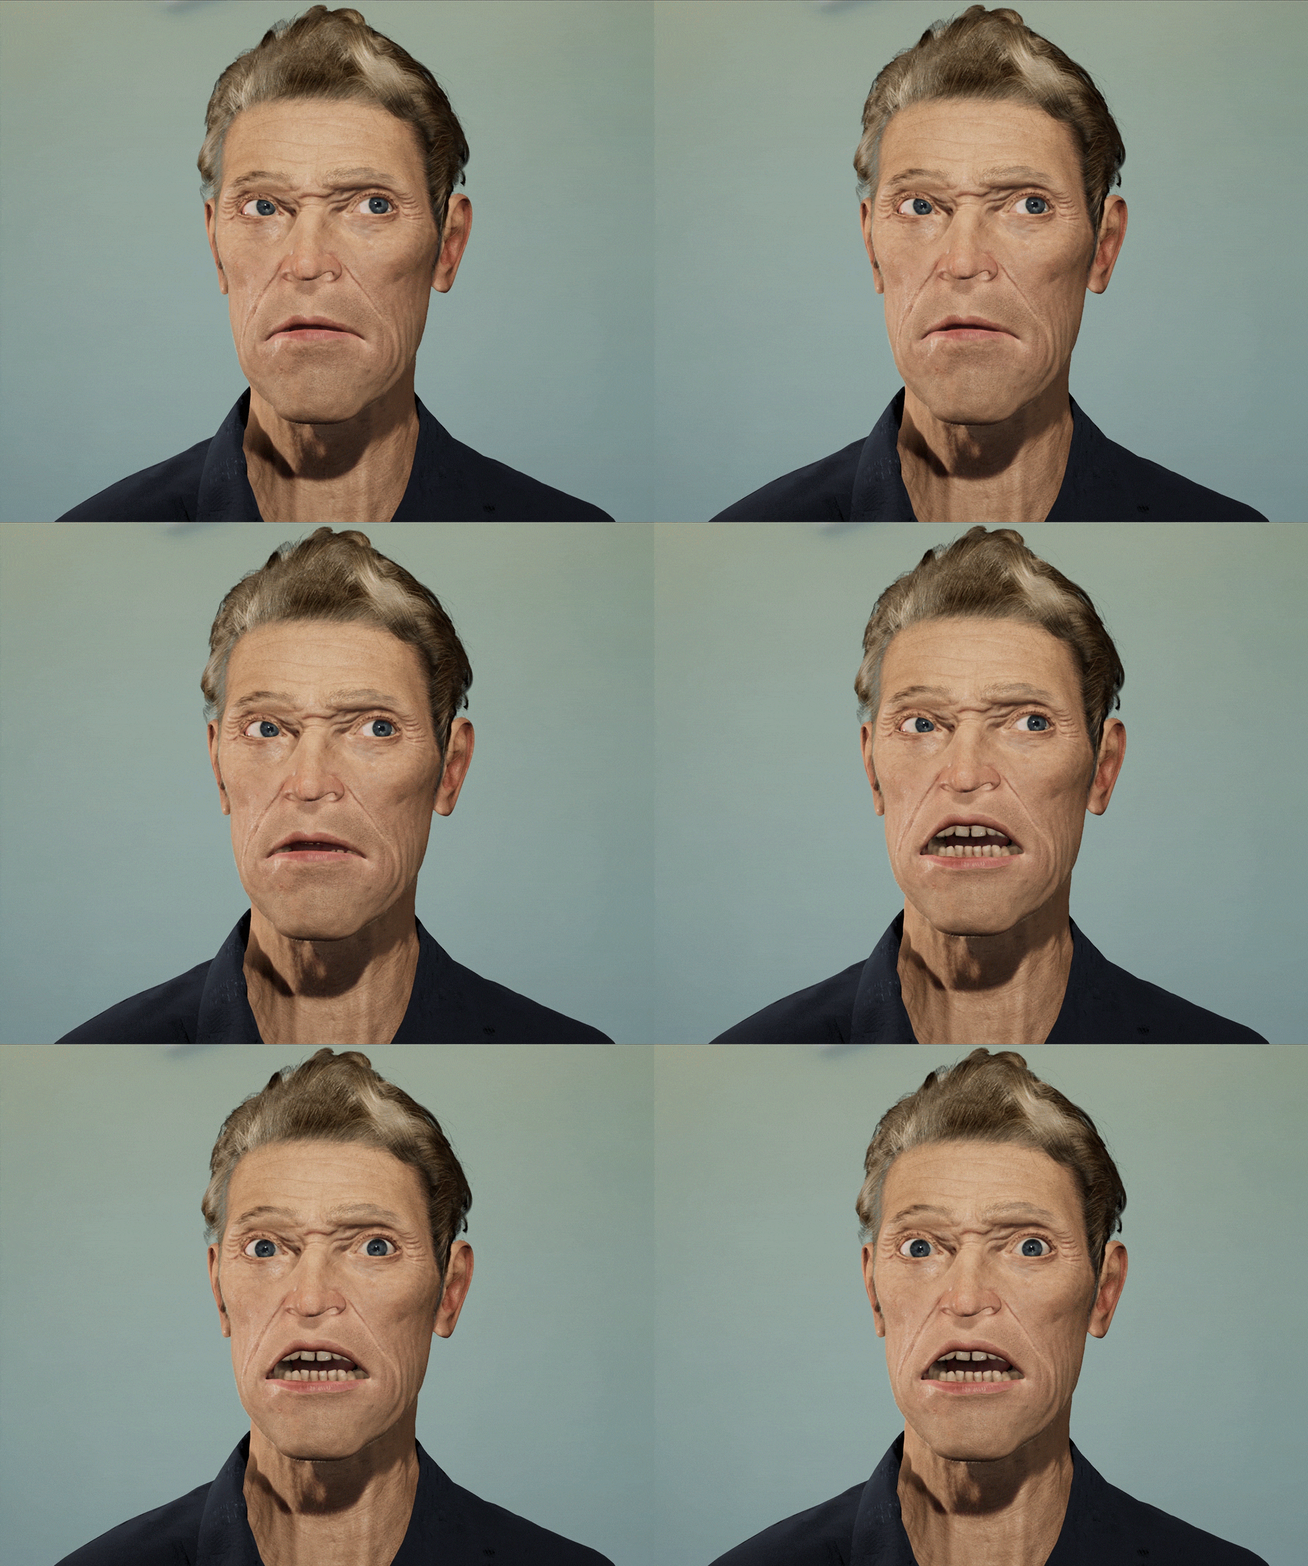
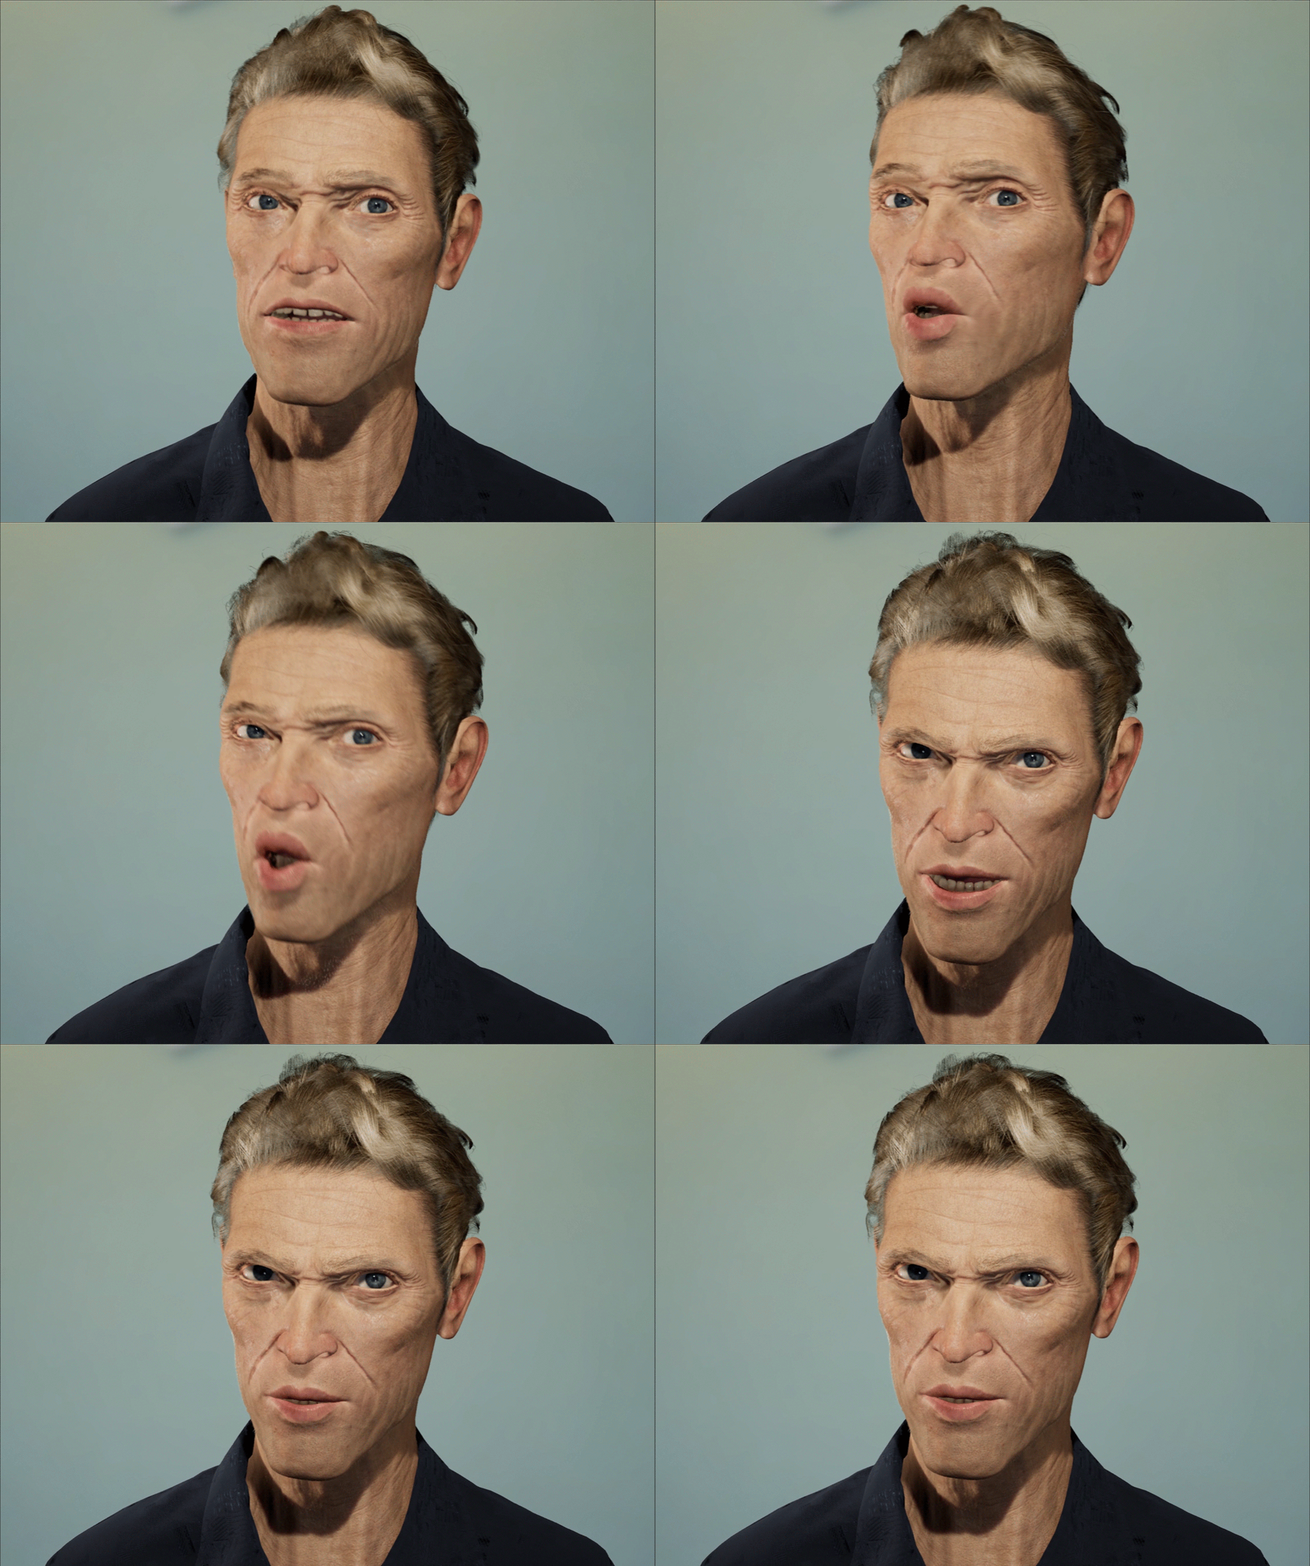
Facial Modeling & Sculpting
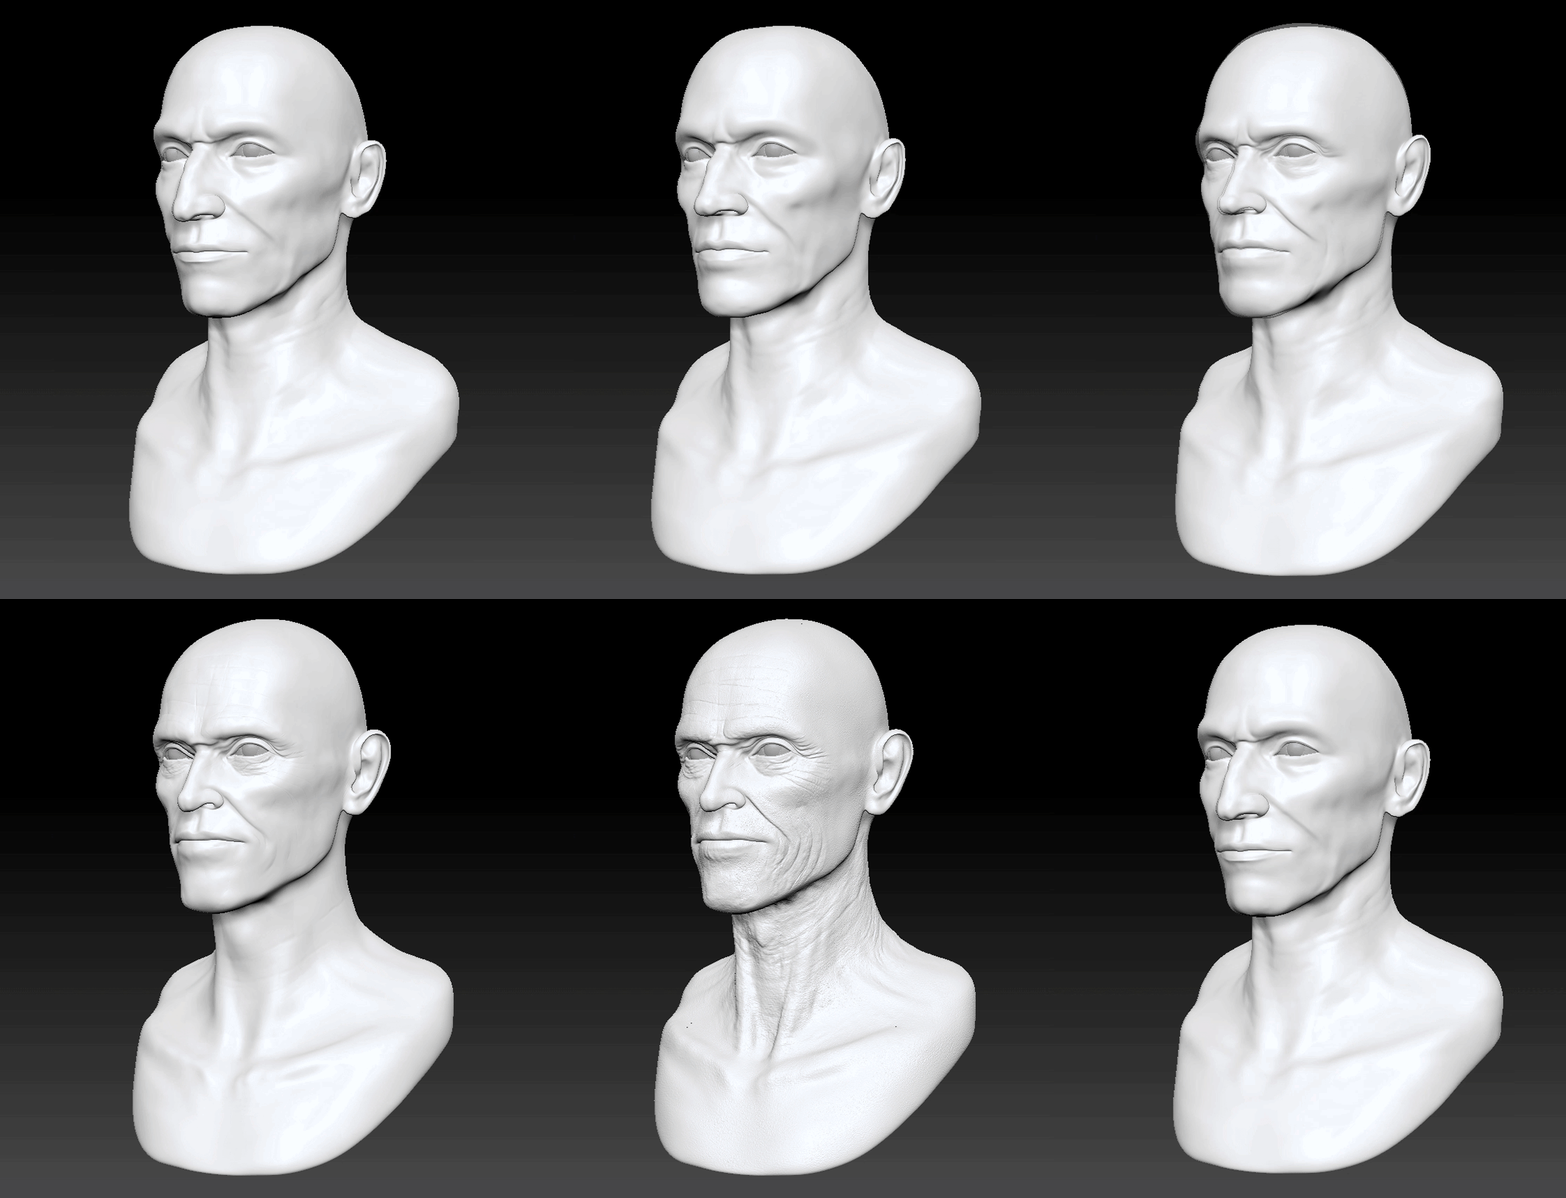
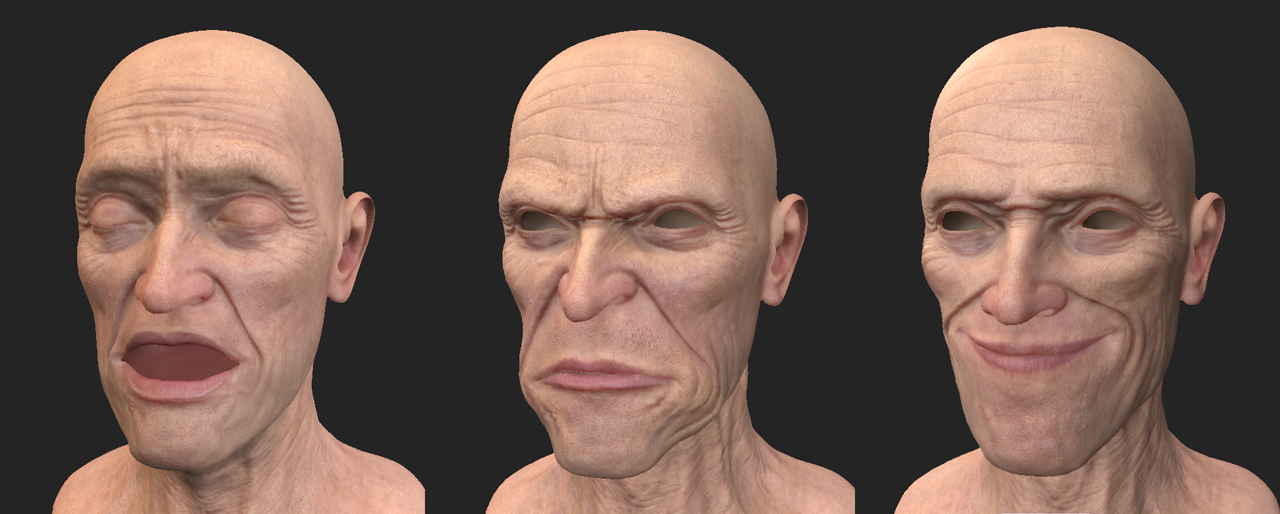
Next, I modeled a low poly facial mesh in Maya, which I transferred to Zbrush for sculpting the high poly mesh. Characteristic of Dafoe’s face are his protruding chin and pronounced cheek bones, so I was particularly careful to get those shapes right (in all dimensions)
The subdivision level was raised to 8 in order to increase the density of the model’s skin and wrinkles. It’s helpful to divide the facial mesh to poly groups in advance so it becomes easier to express fine shapes and details such as the eyelids and the corners of the mouth.
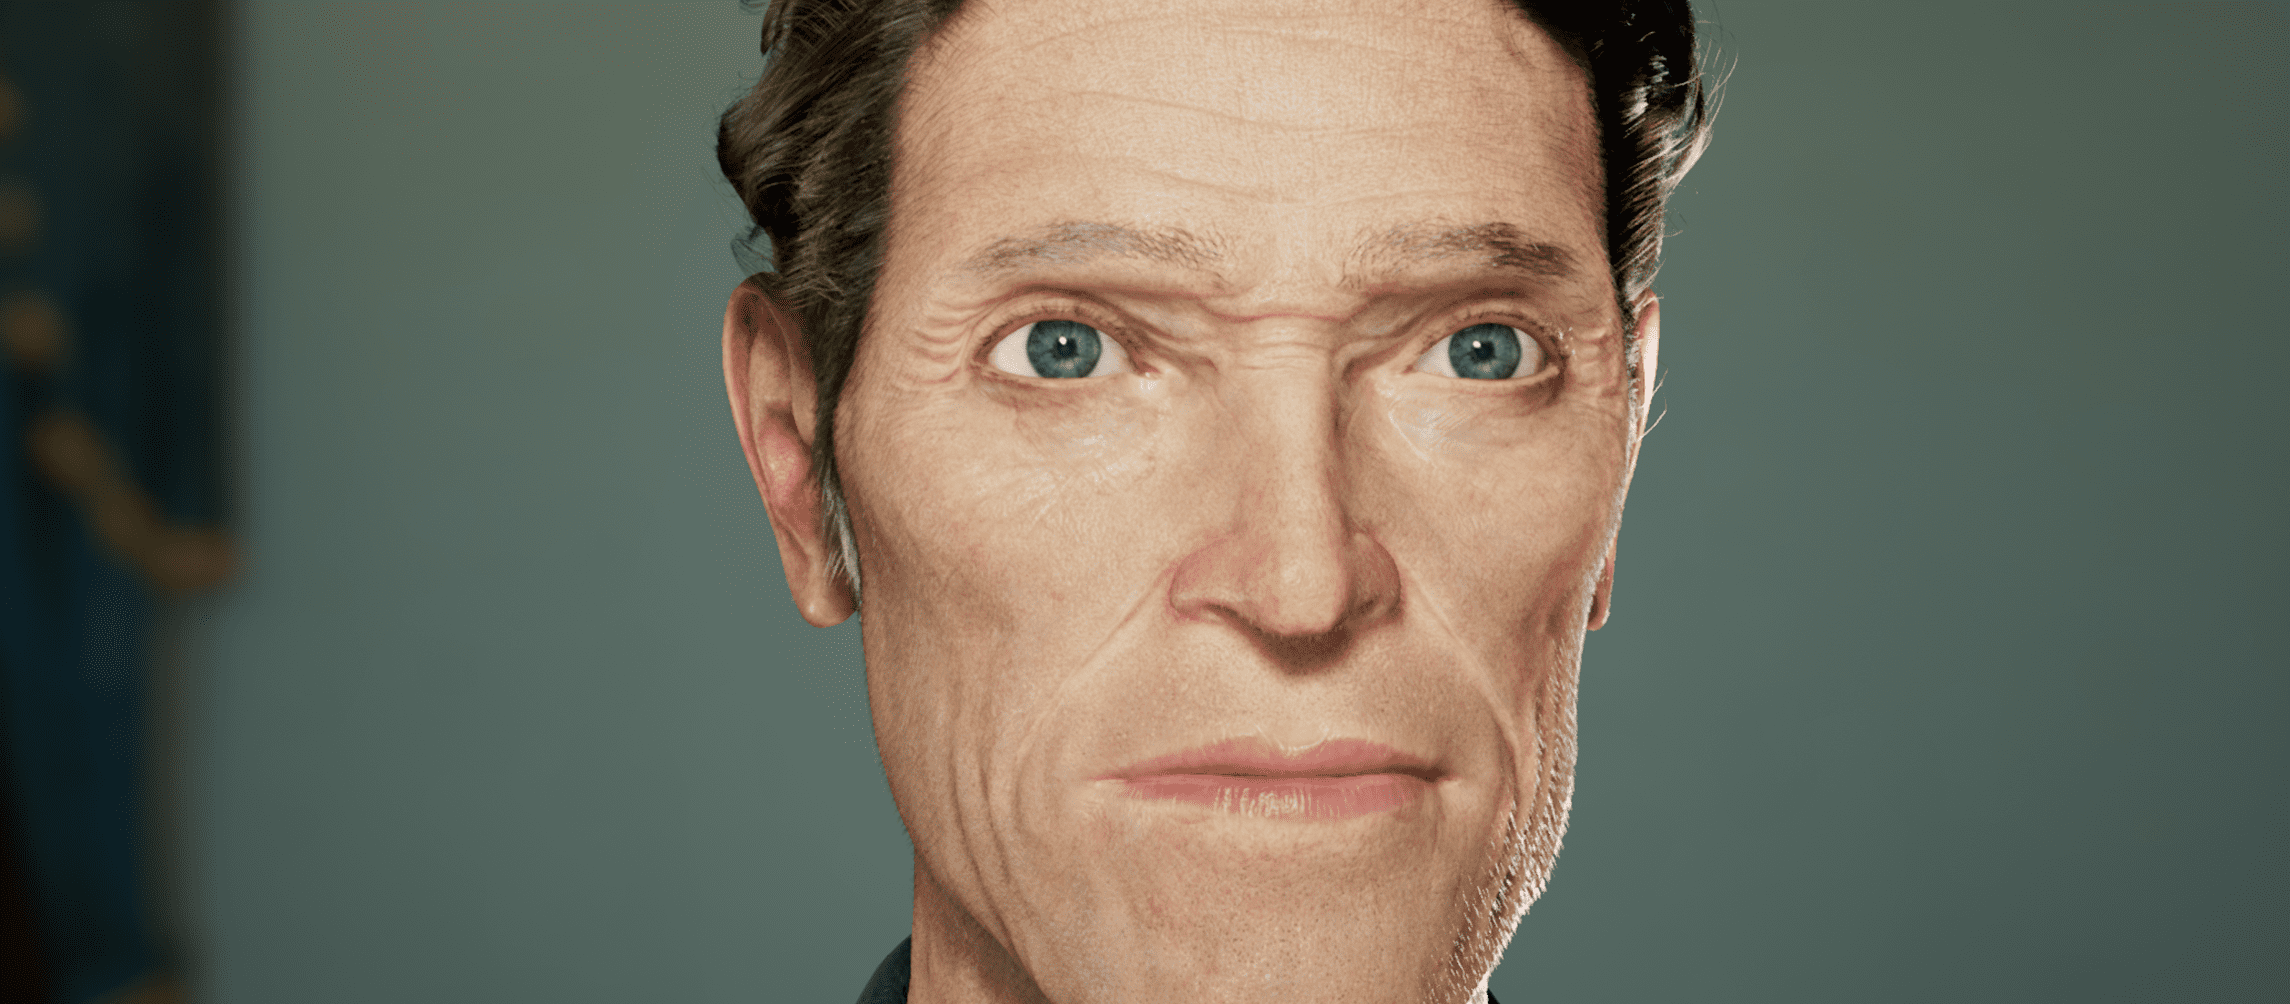
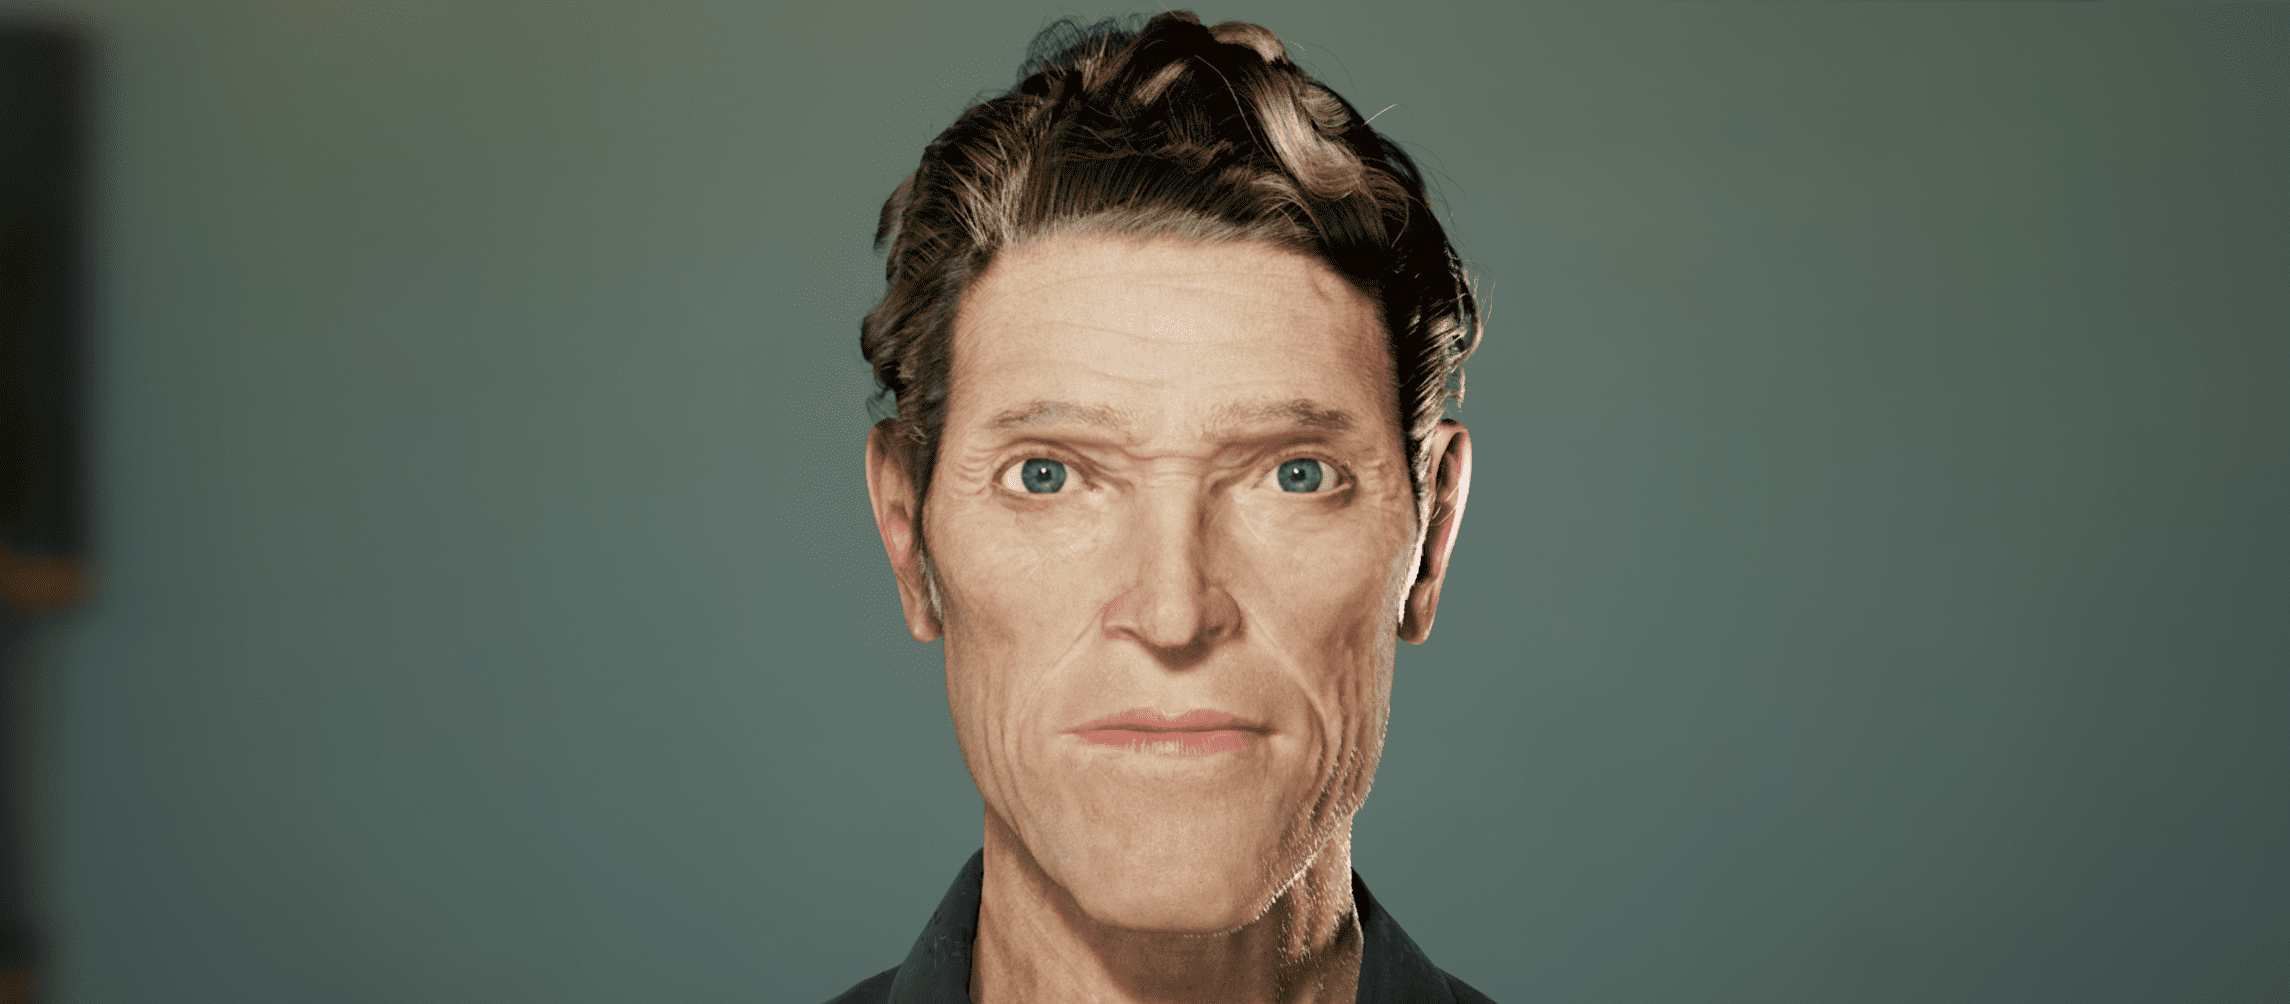
Skin Texturing
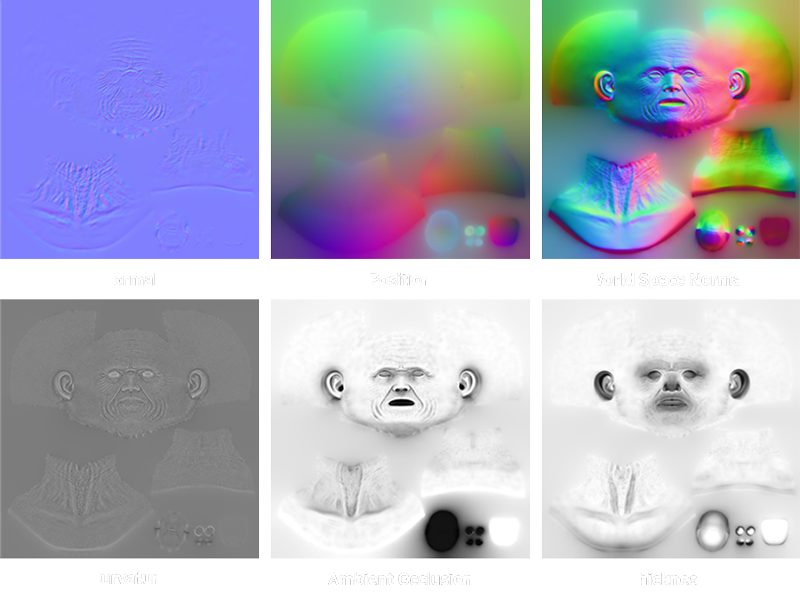
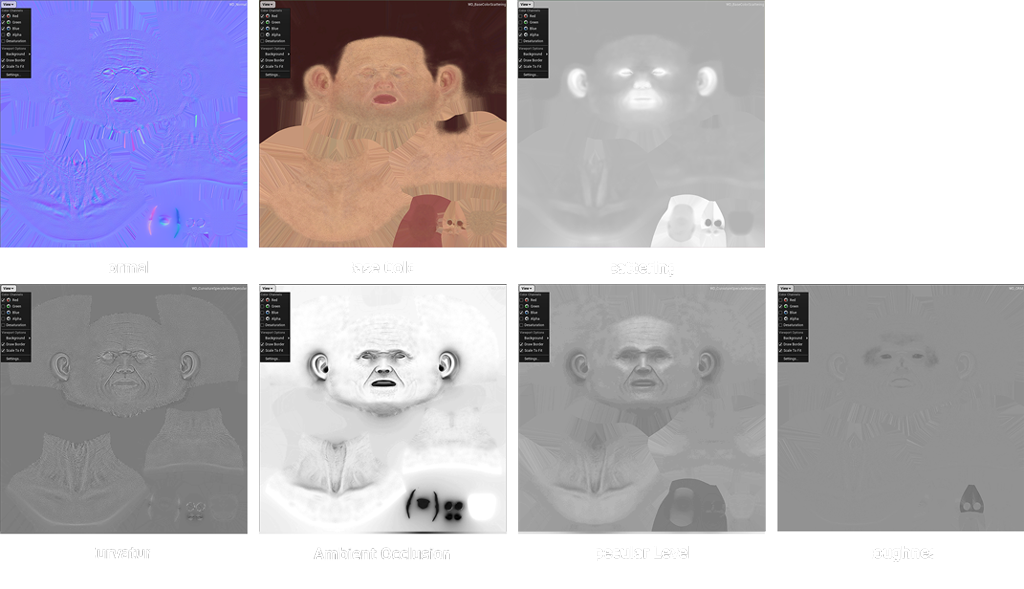
The first thing I did in substance painter was bake a high poly mesh on top of the low poly mesh. After that, I was able to create the maps that have information such as light, roughness, curvature . These were used to paint the skin and express wrinkles.
example, the curvature map was used for expressing pores and roughness as the face emotes. By adding a paint layer, I was able to exclude unnecessary areas. A thickness map was used to paint scattering areas such as eyelids, ears and the tip of his nose.
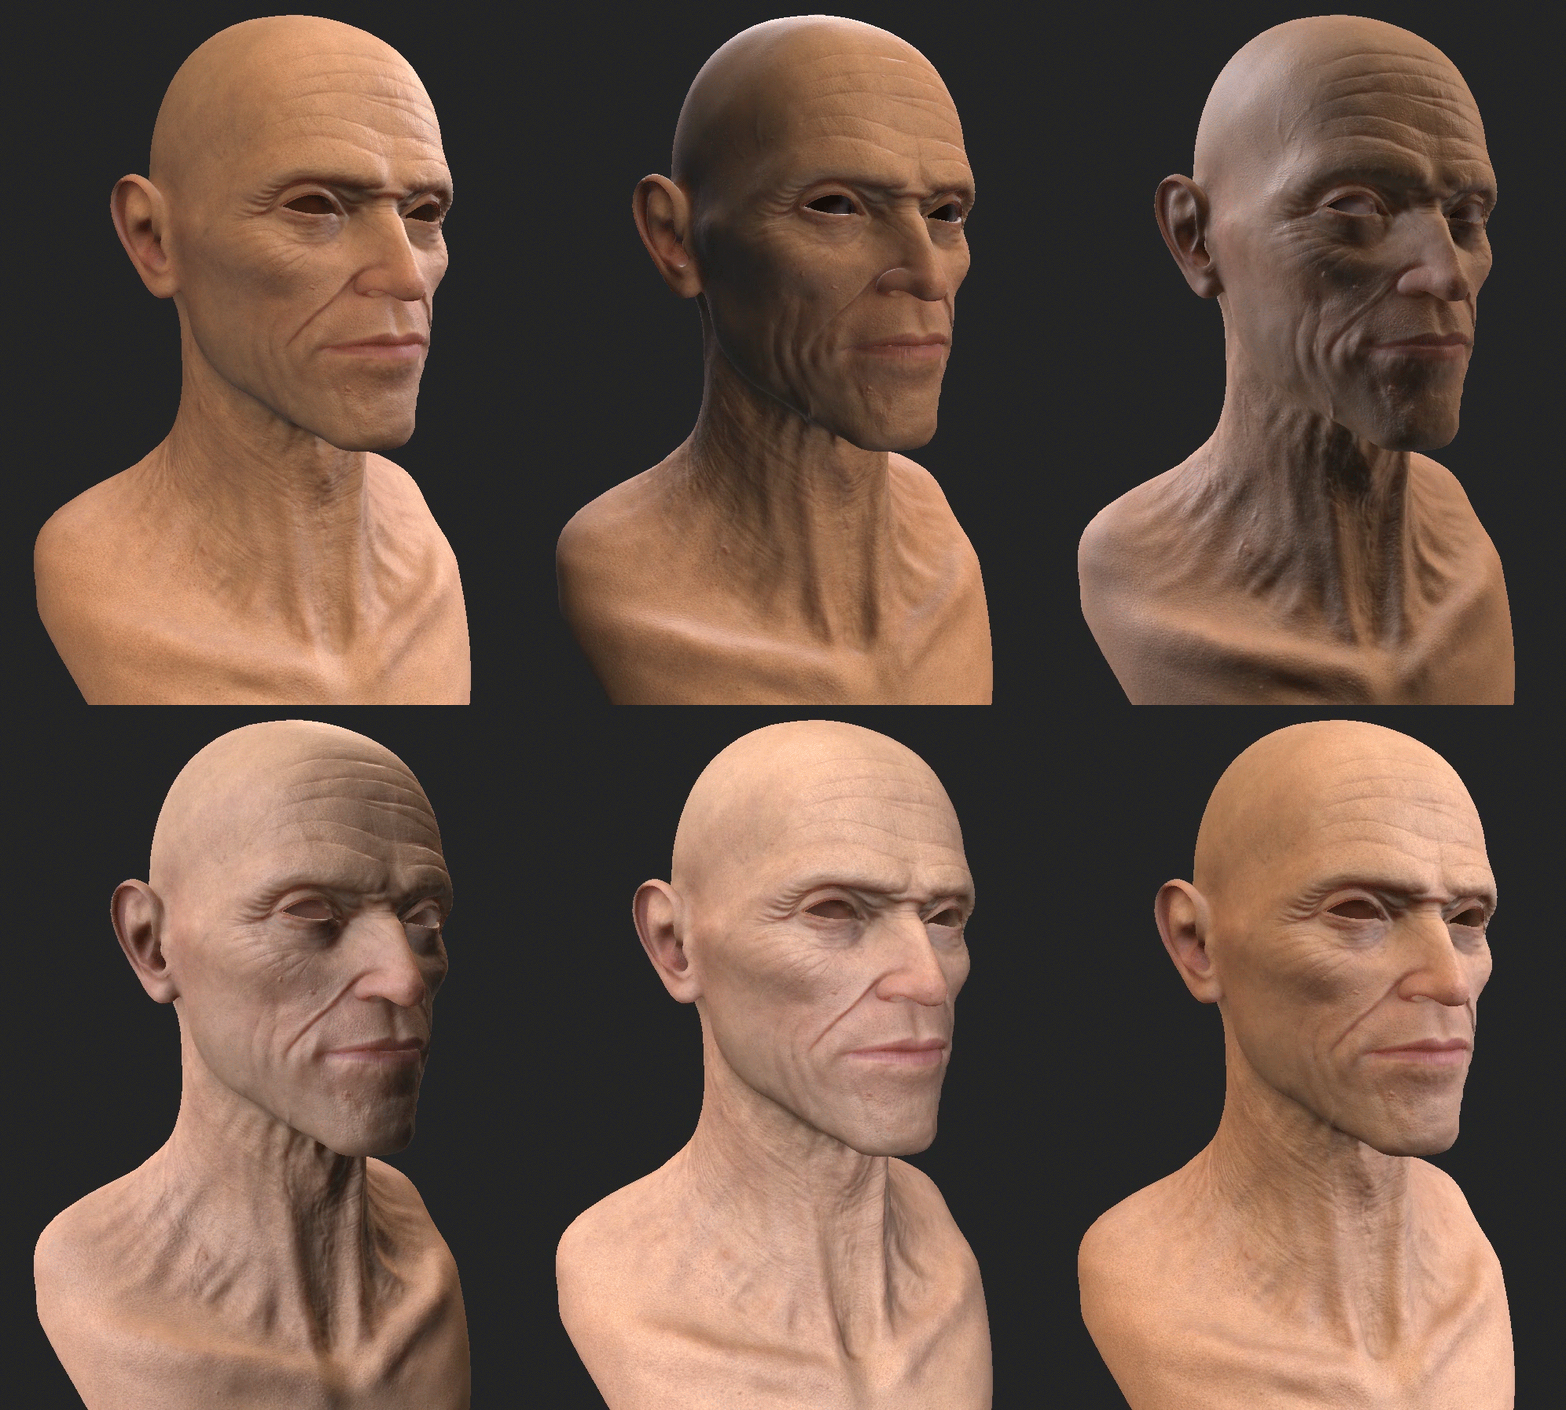
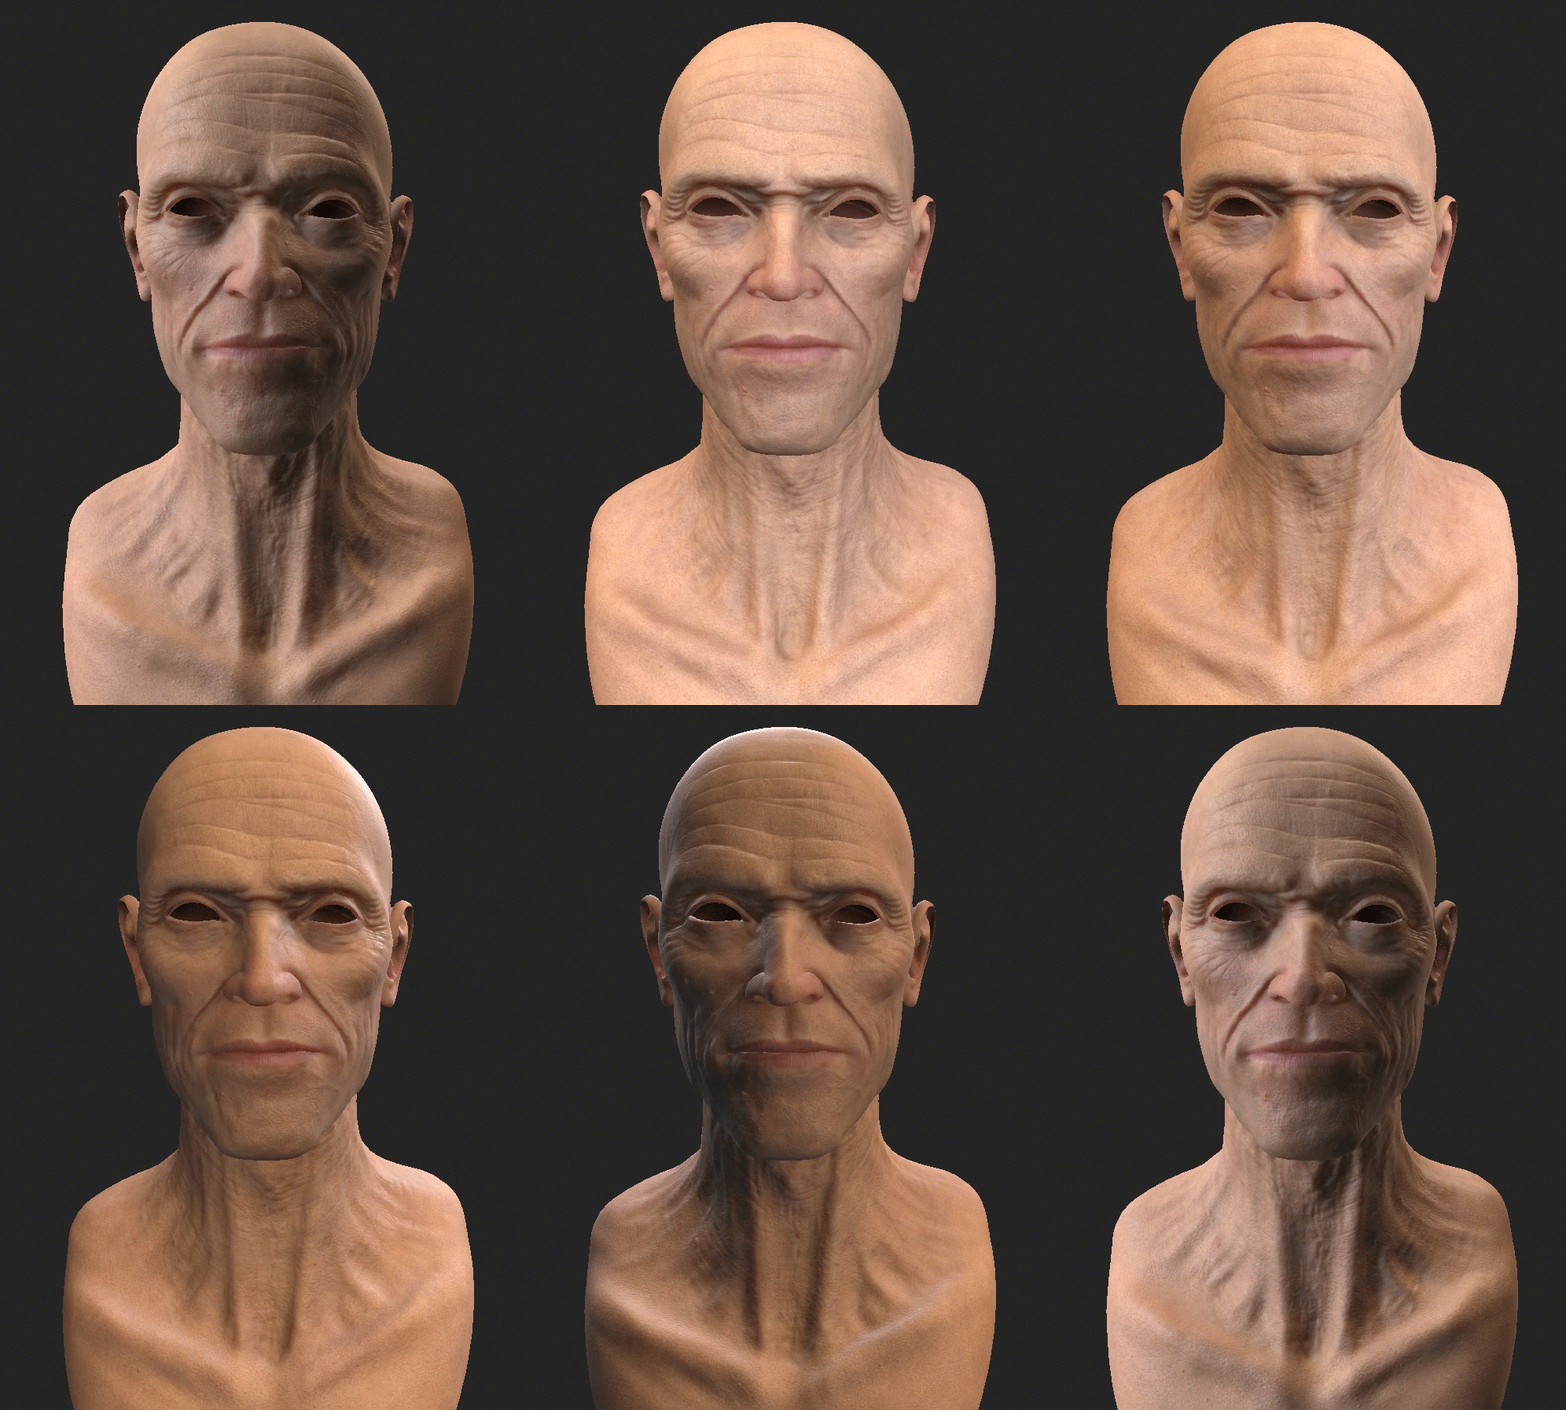
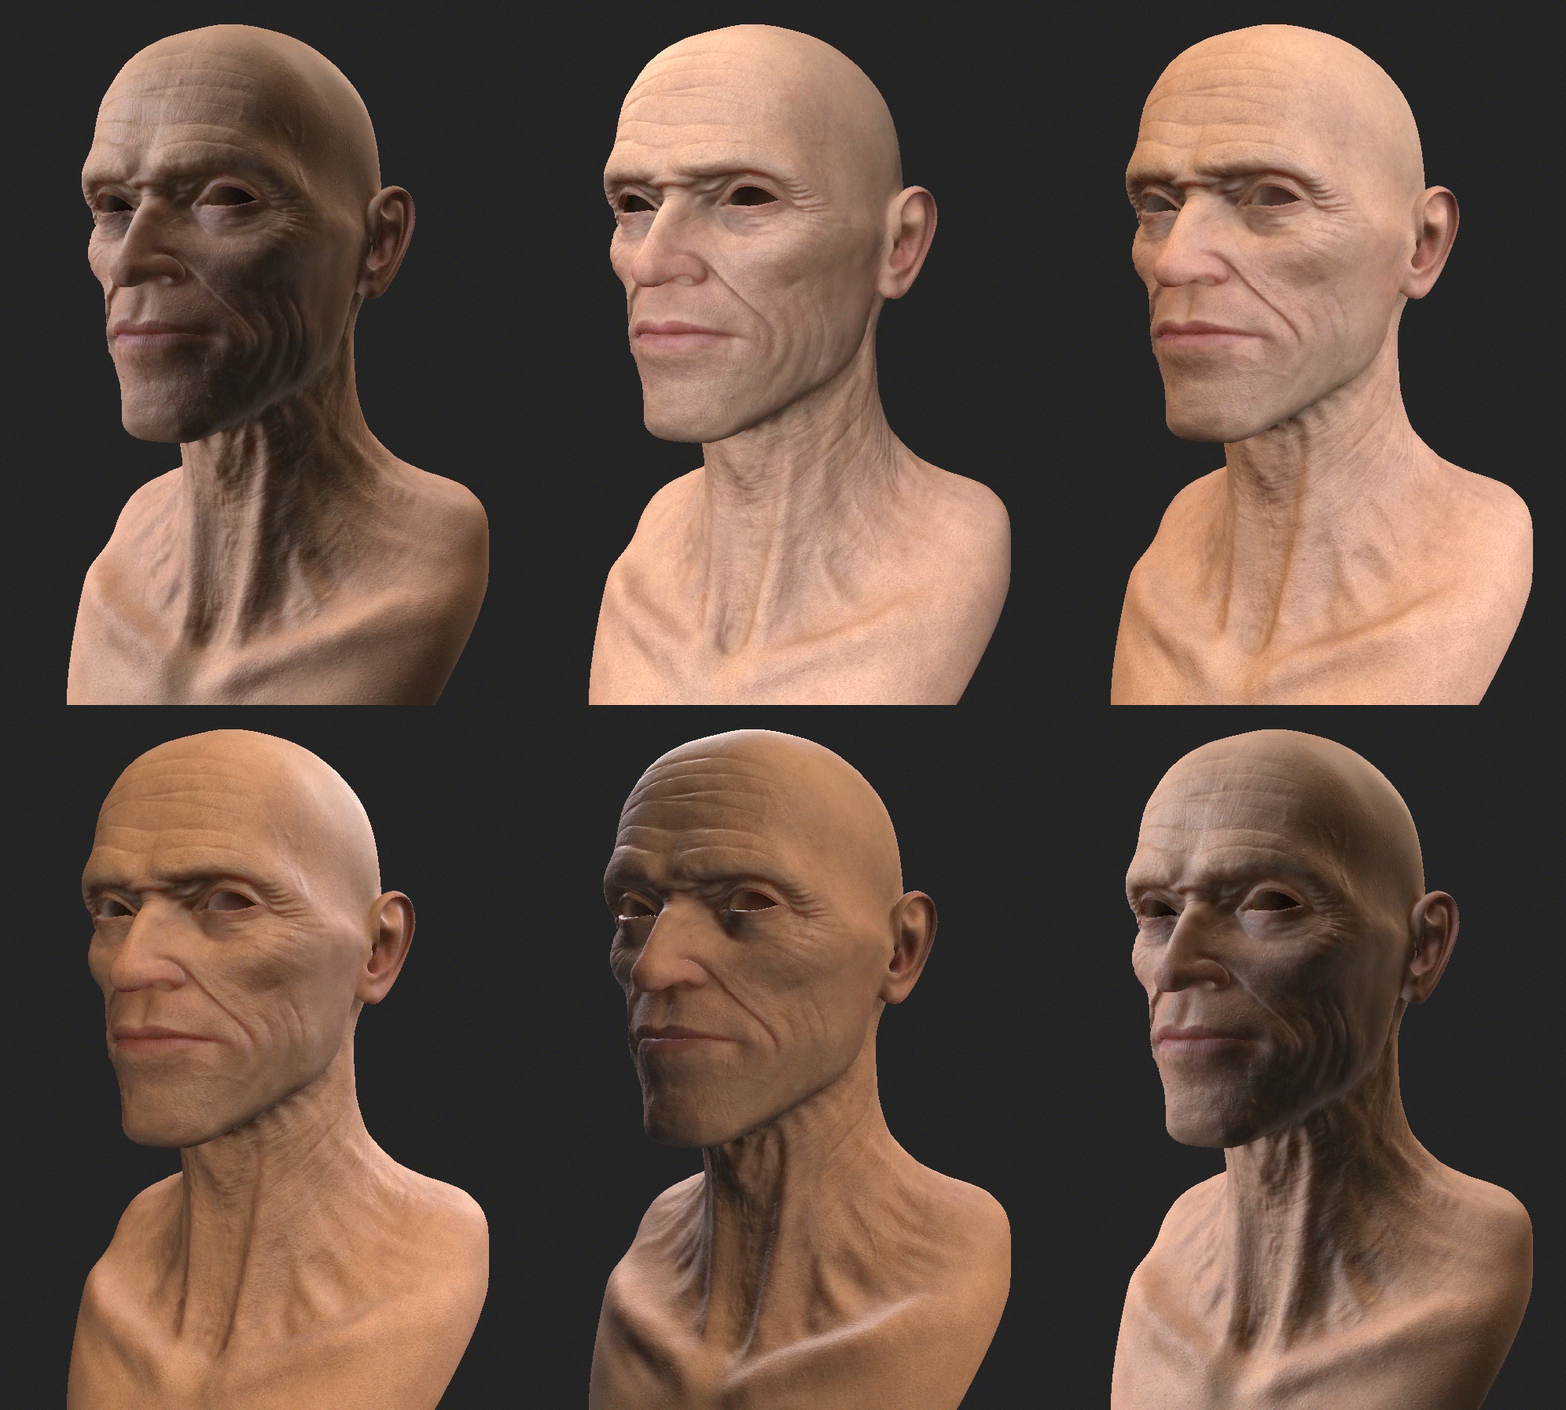
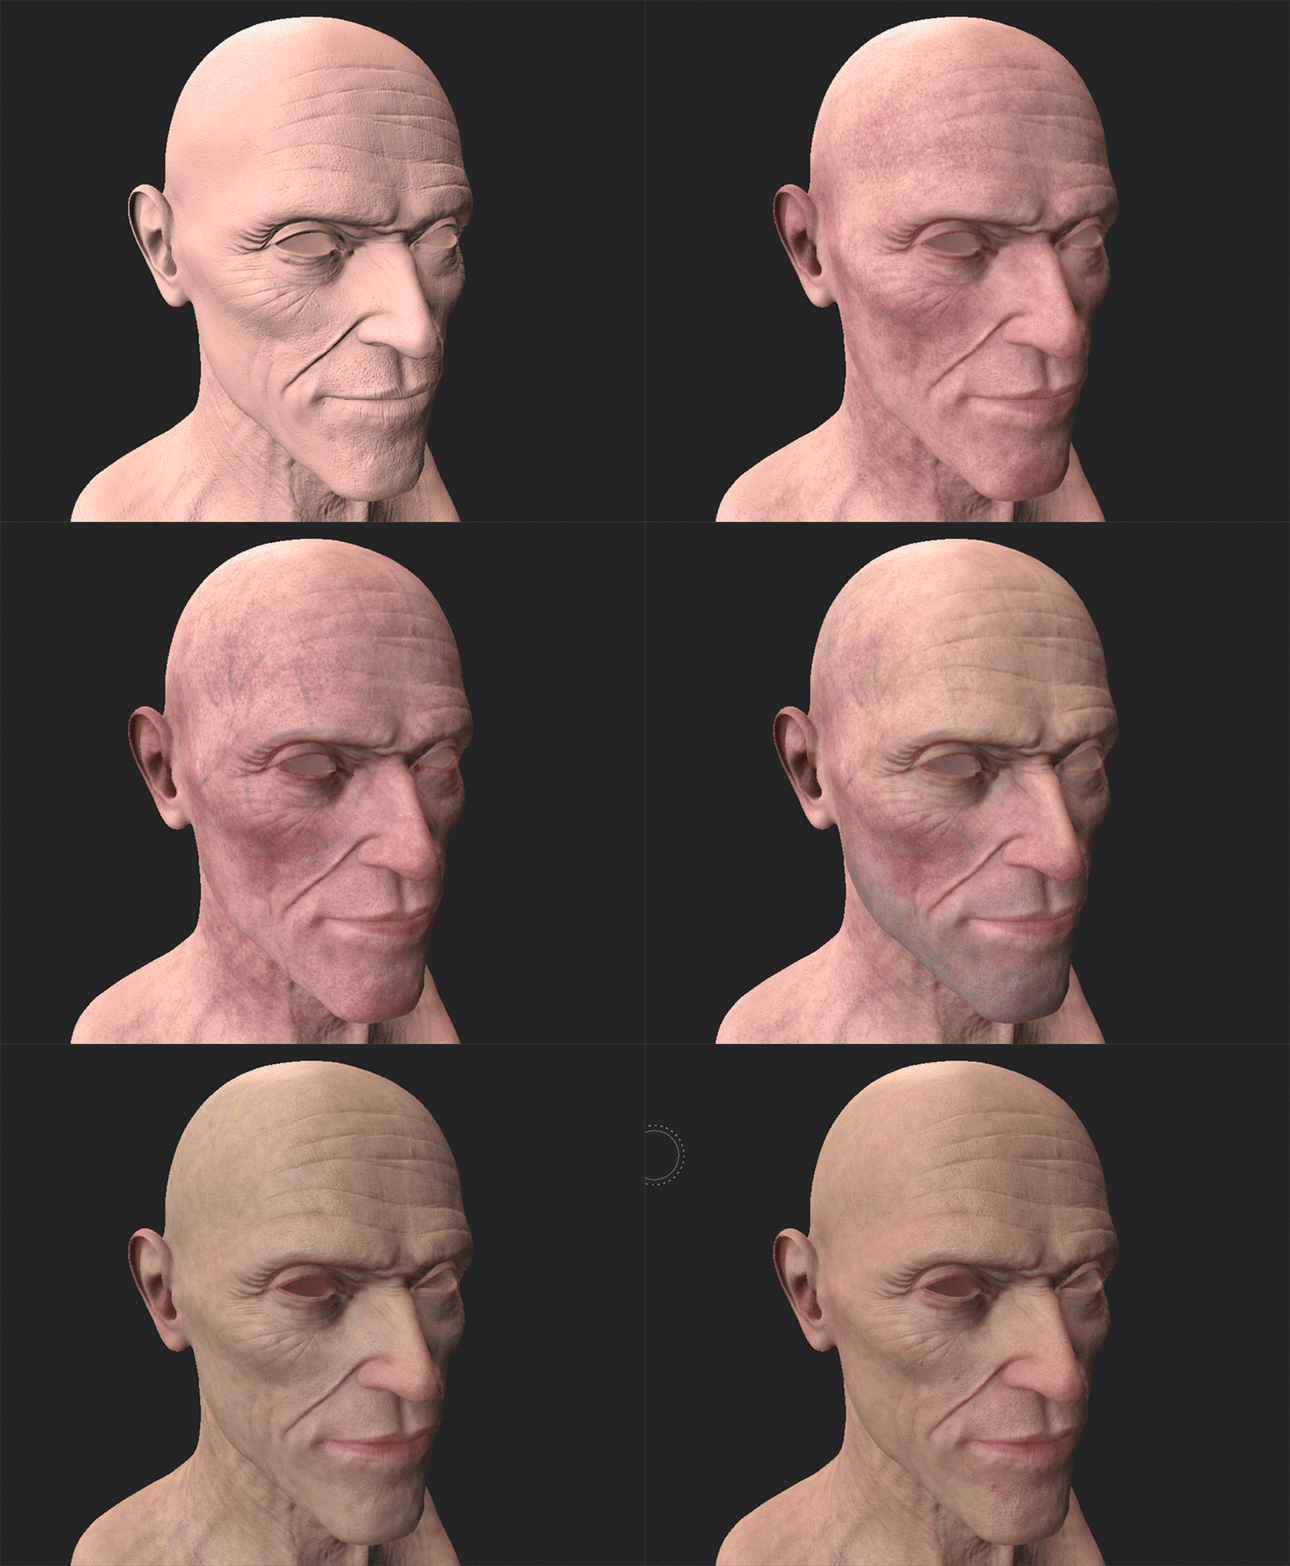
Willem Dafoe's face was painted layer by layer, based on the structure of his skin.
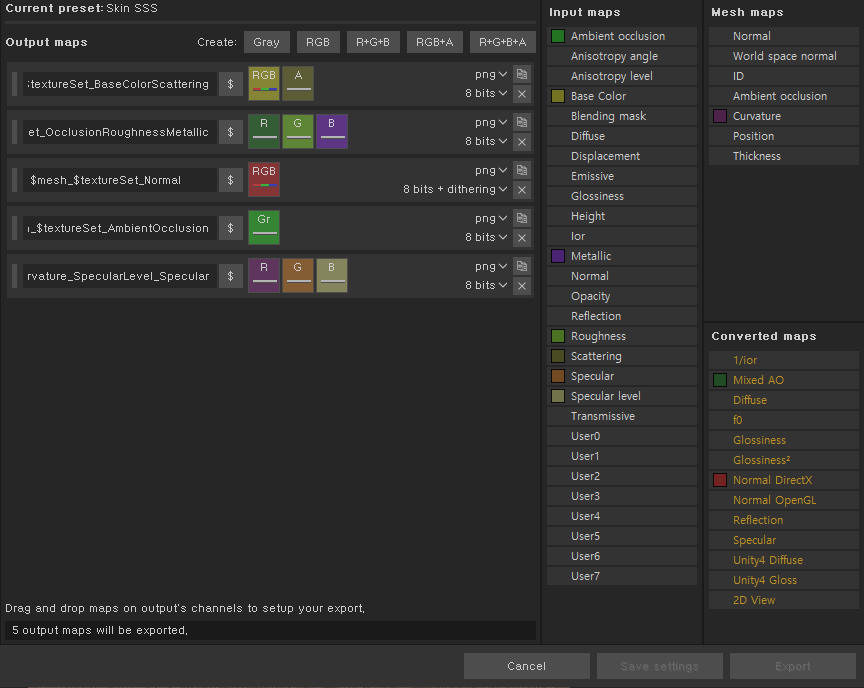
There are several settings for activating subsurface scattering in Substance Painter. First, a scattering channel has to be added. Then, you need to check the enable box in the Shader and Display Settings.
Facial Rigging & Blendshape
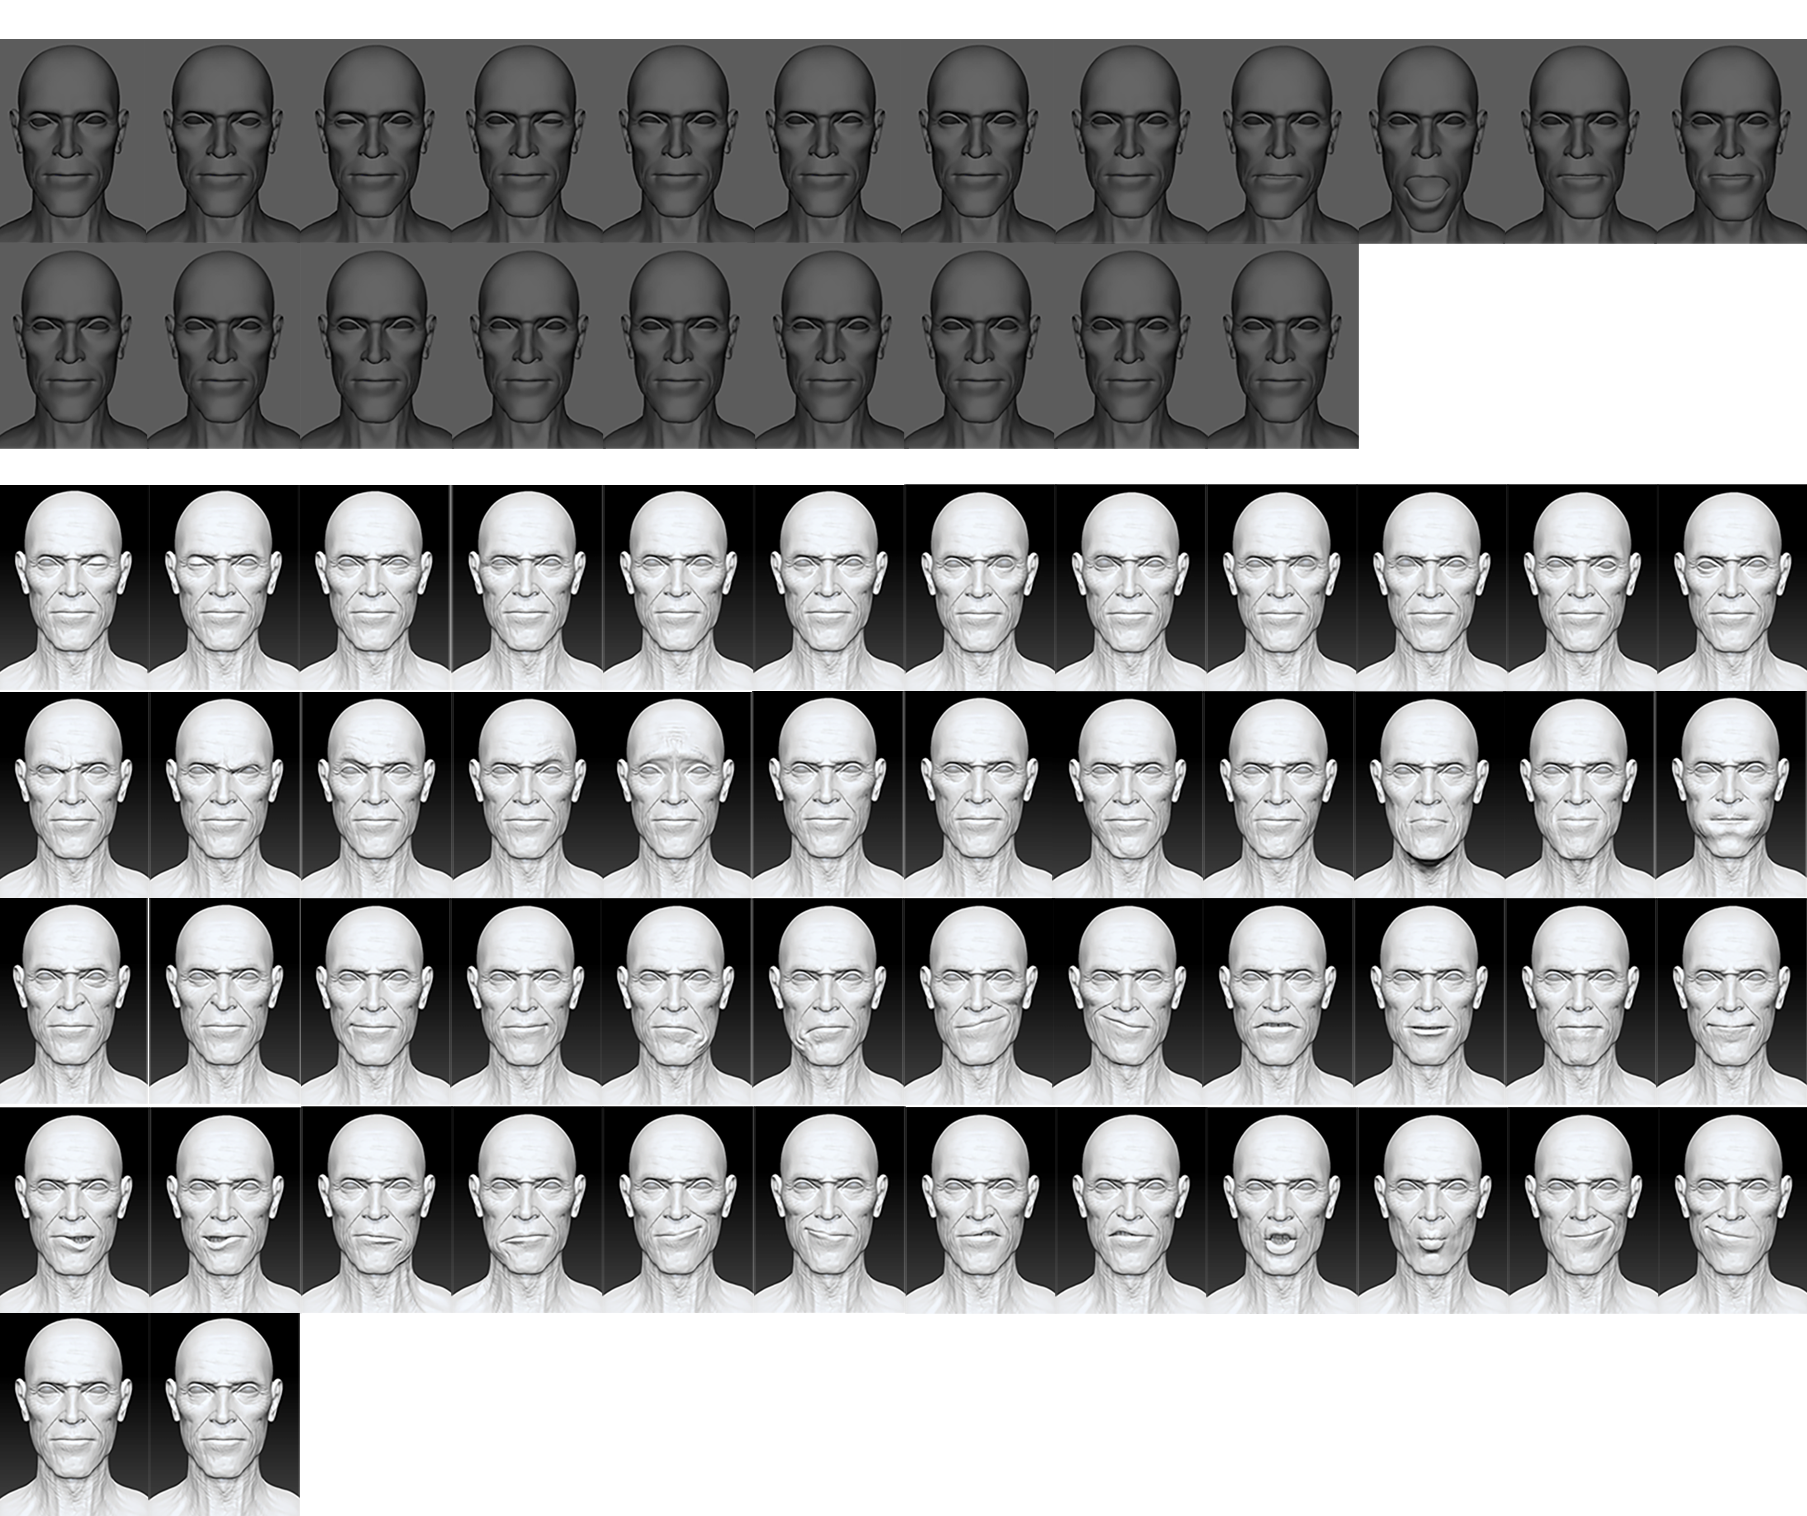
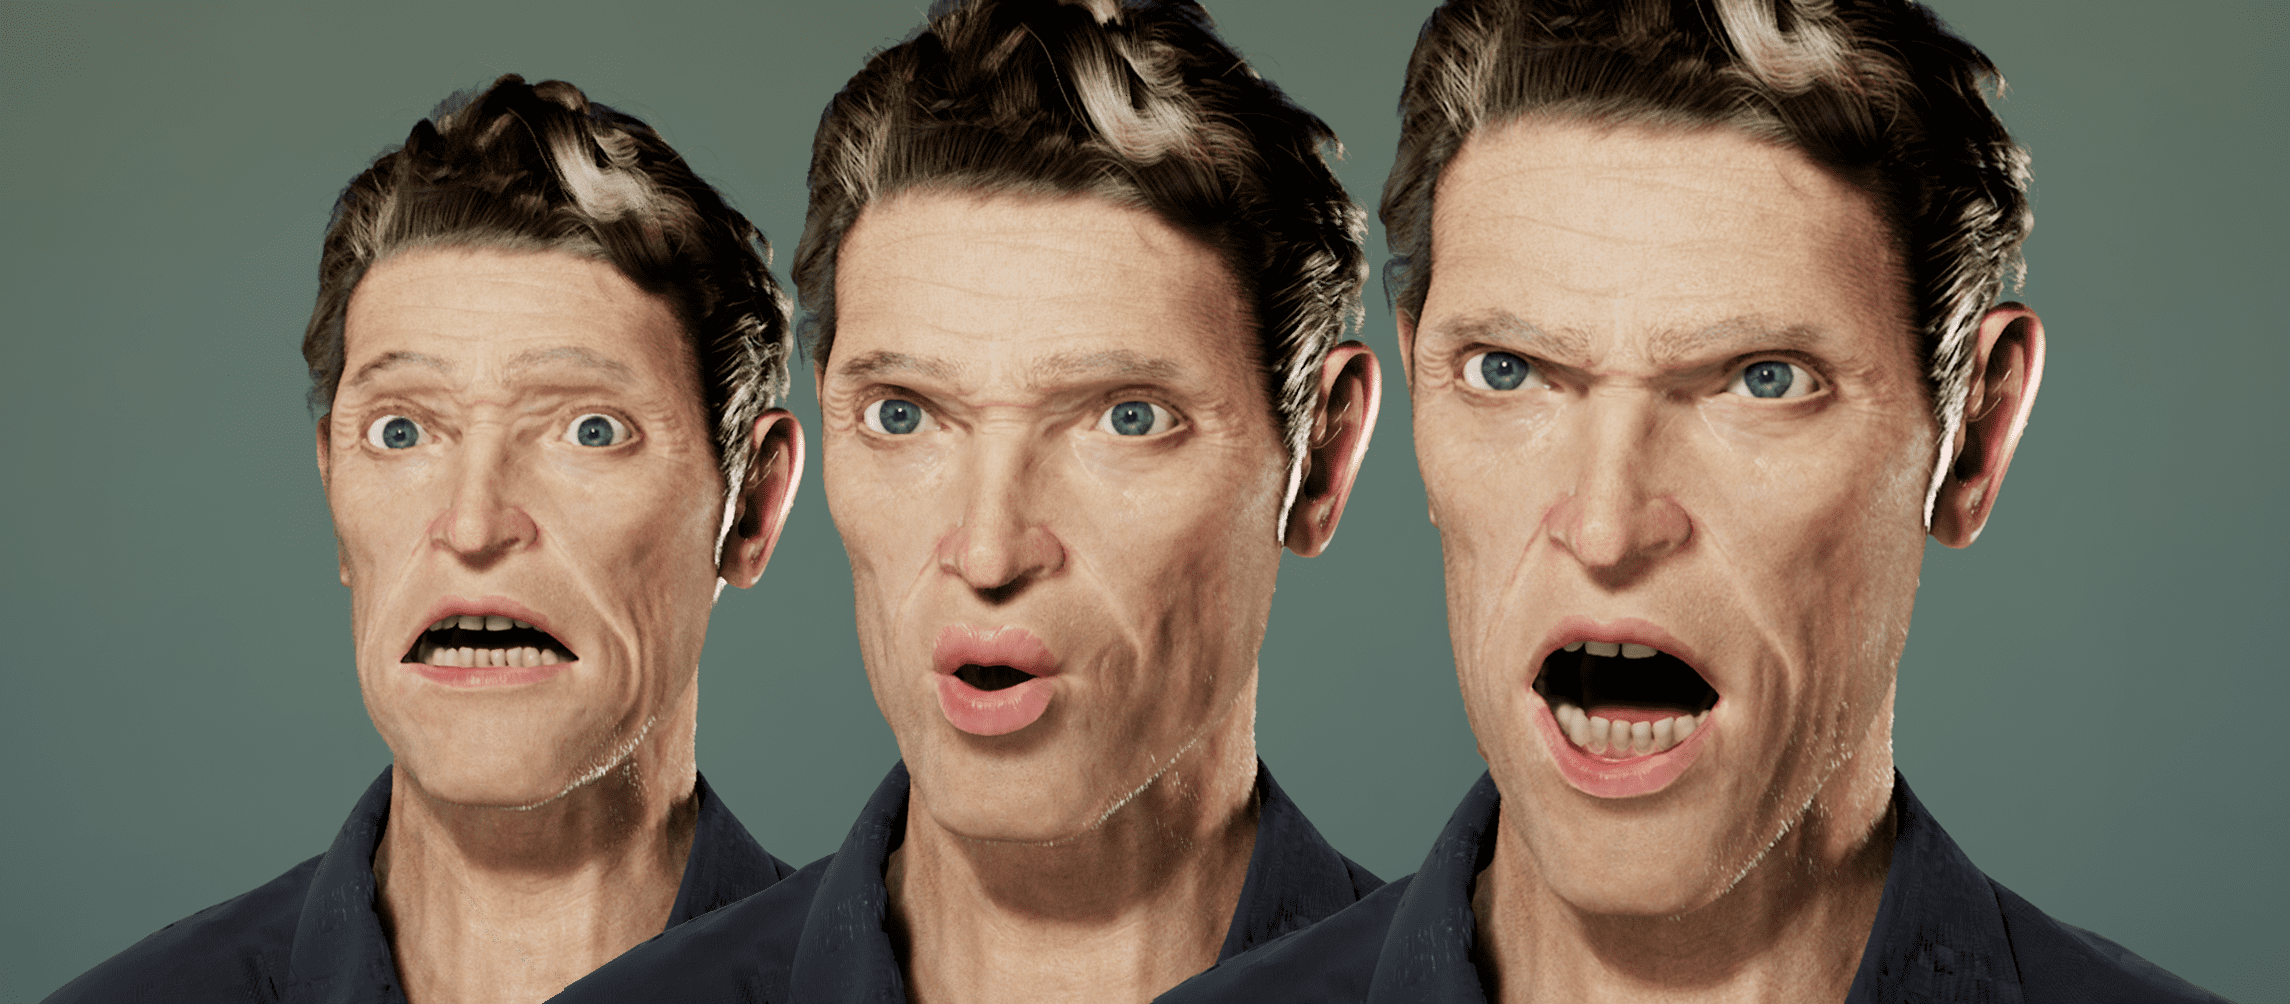
I created the rigging and blendshape to be able to animate Willem’s facial expressions. First, I made 50 poses based on the Apple blendshape list in Zbrush. Afterwards, I continued in Maya by using a Zbrush plugin that can convert the layers in Zbrush to Maya blendshape data.
After creating the bones and binding the skin in Maya, the affected areas of the skin were painted white according to the movement of each bone.
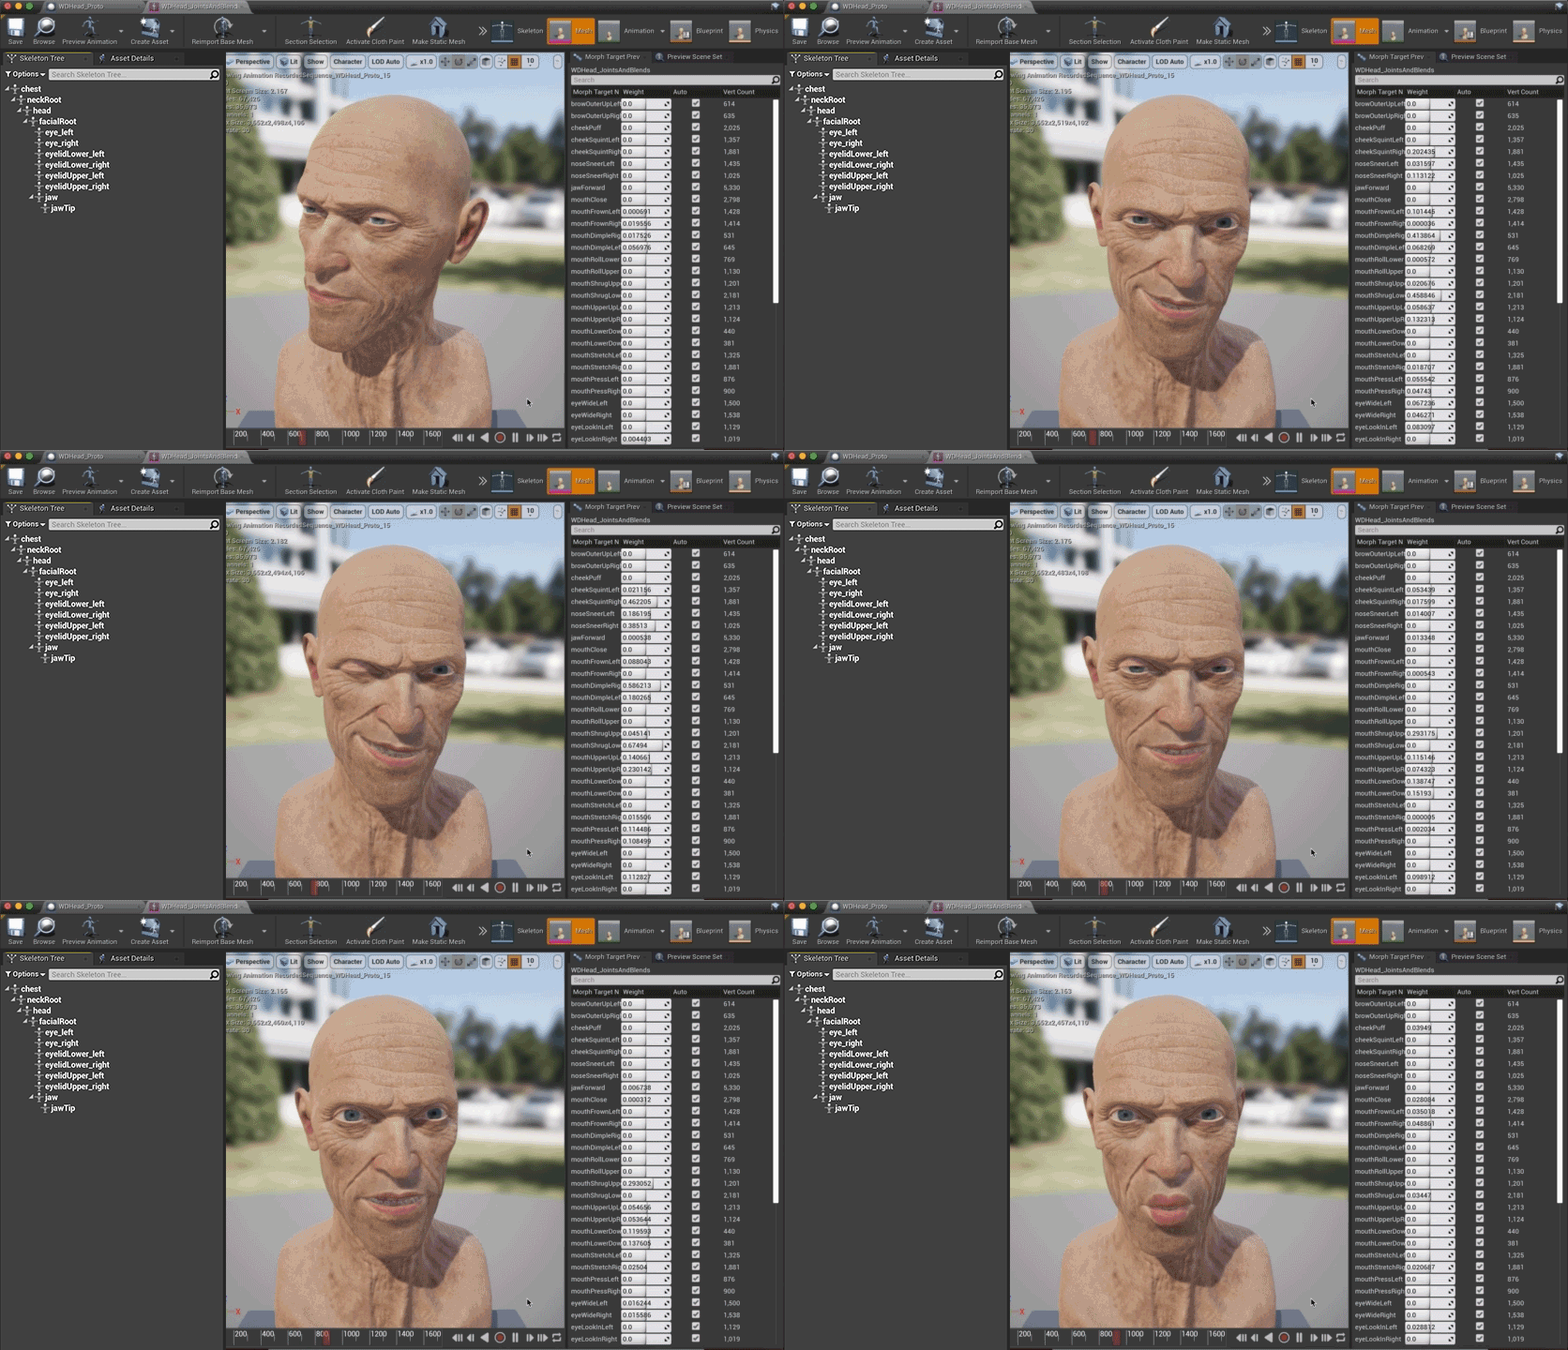
If you import the FBX file in Unreal Engine, you can check and verify the bone animation as animation sequence data and the blend shape as morph target data.
If you create a pose asset using an animation sequence, you can use each keyframe as one pose. Once the name of each pose is the same as the blendshapes, the weights are added. We then have the final animation.
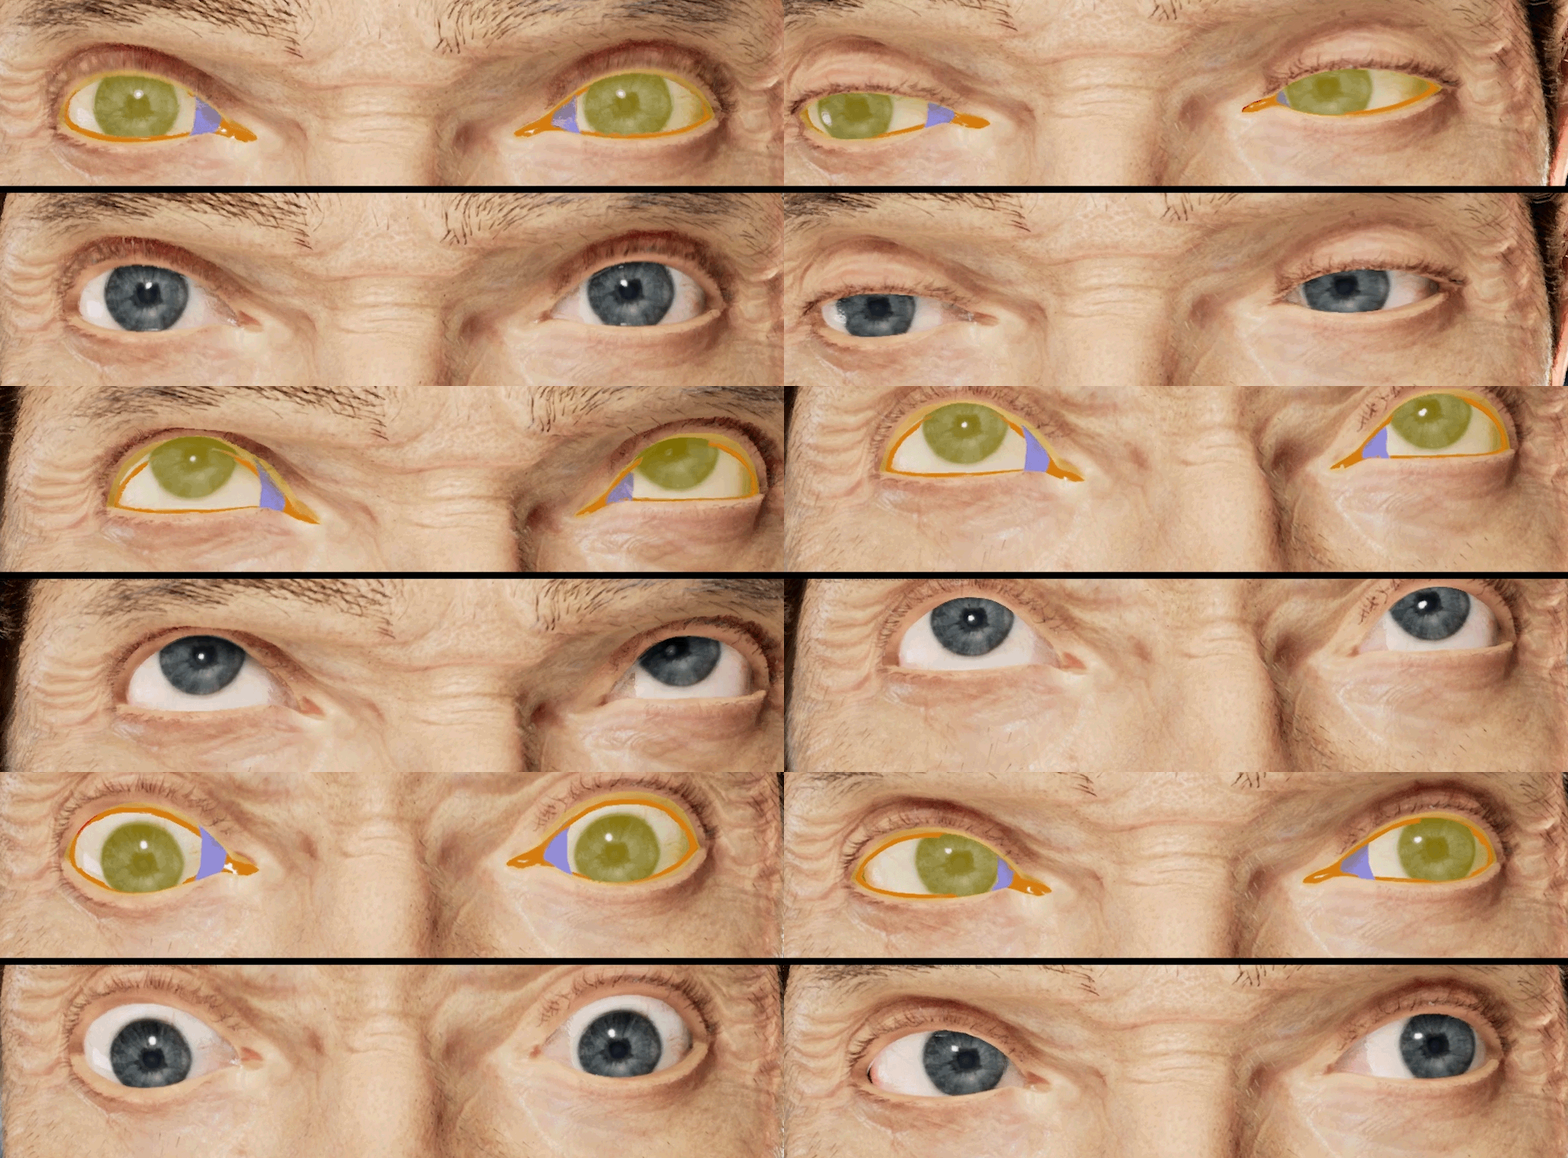
The first mistake I made was to just make the lacrimal meniscus mesh on a blendshape basis, so it wasn't in the right place. After fixing it for the final animation, I was able to confirm that it worked properly.

Hair, Eyebrow & lids, PeachFuzz
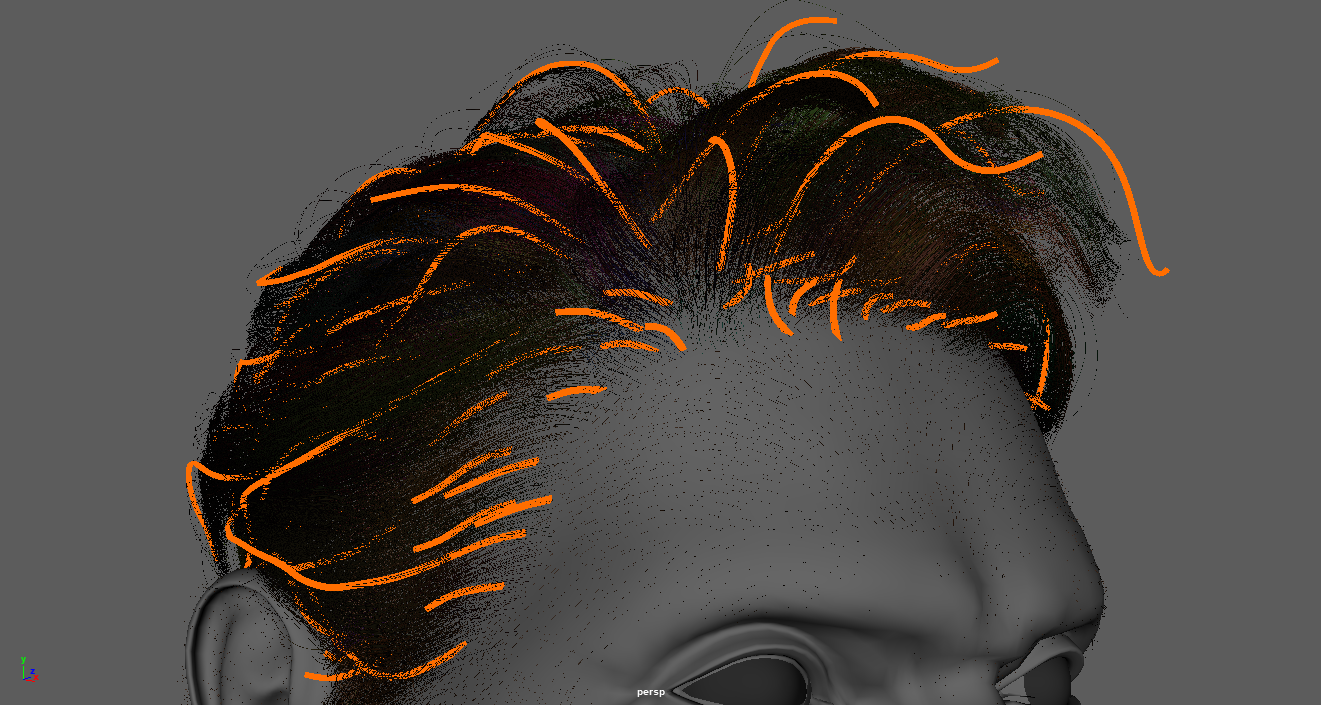
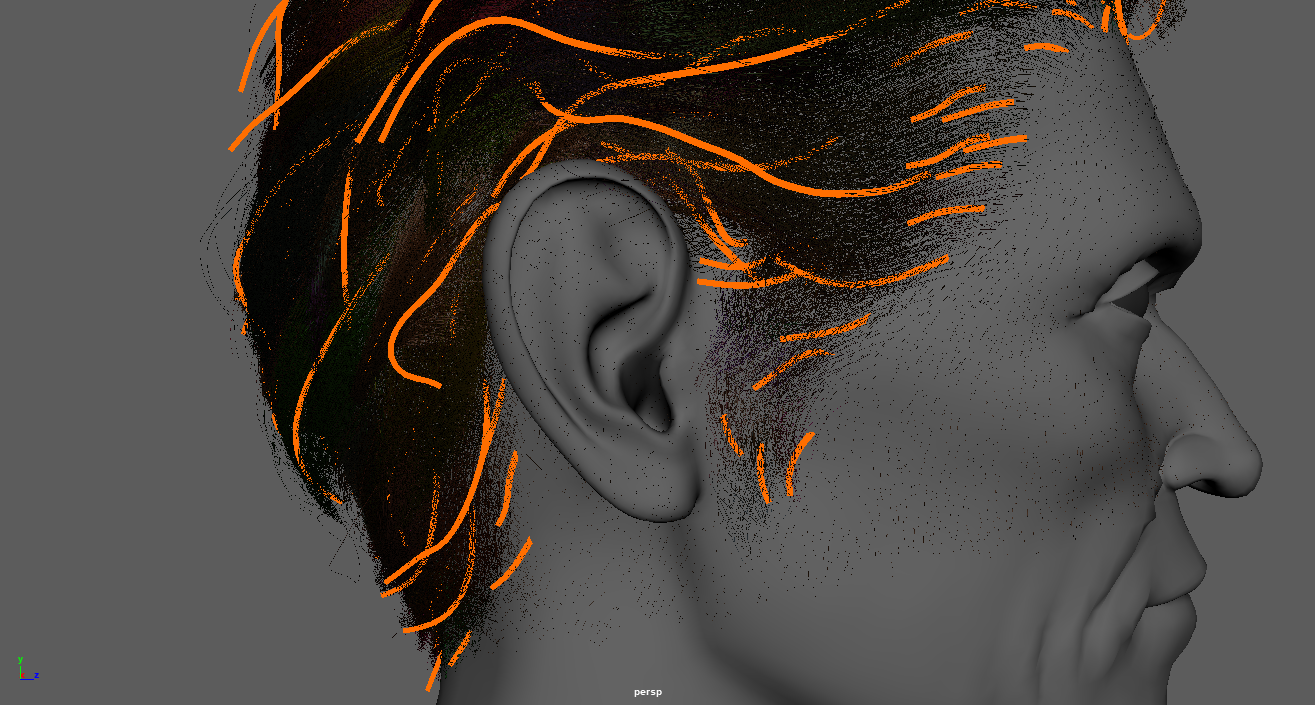
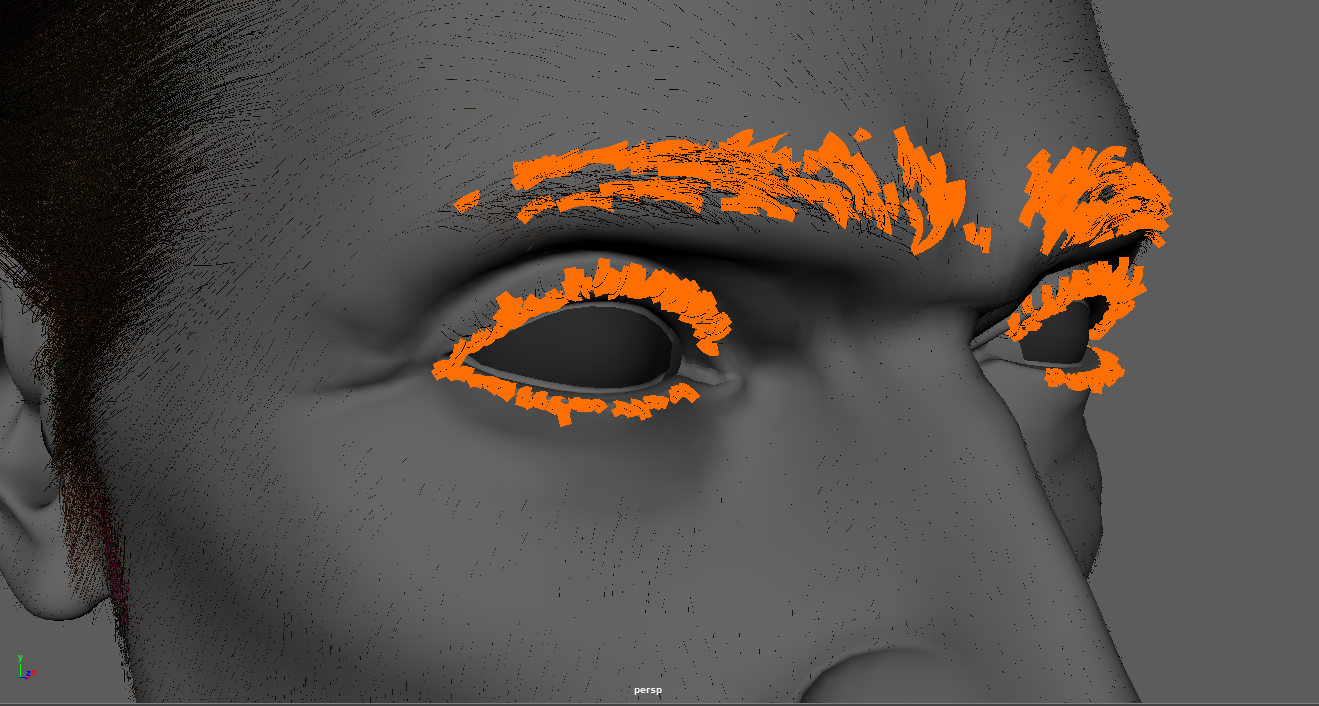
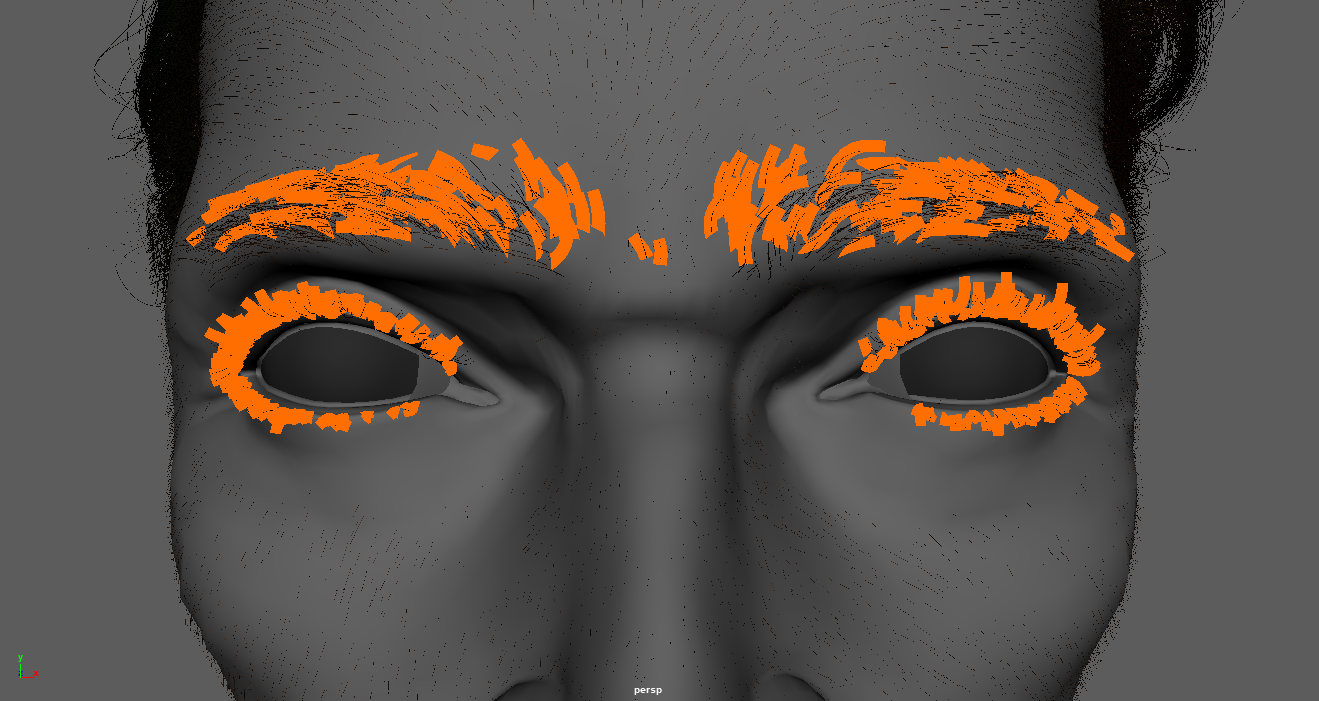
Maya XGen was used to create the hair, eyebrows, lashes and stubble. I've created collections of each area and added descriptions (i.e. quantity of “fur”) in the guidelines.
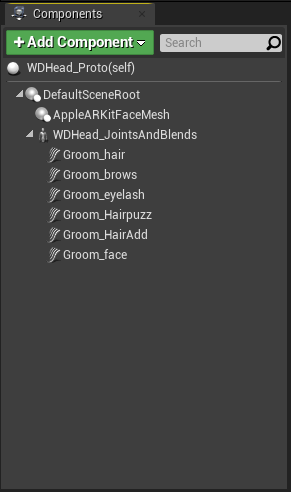
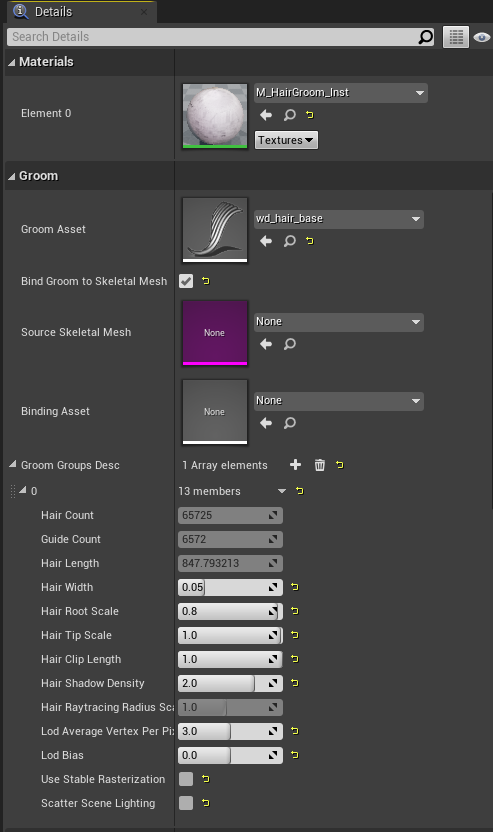
After converting the grooms to Maya’s interactive grooms, they were exported as an alembic file (.abc).
Before importing alembic files to UE4, I had to set up something that could import this type of file using the Plugin and Project Settings.
I've tried to render the scene in real time on a Mac, but it didn’t work on UE4.25. That’s why I decided to export the animation and record it on PC.
Skin Material & Wrinkle
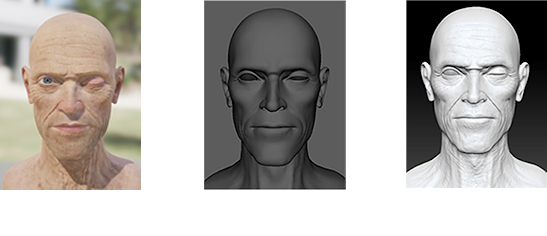
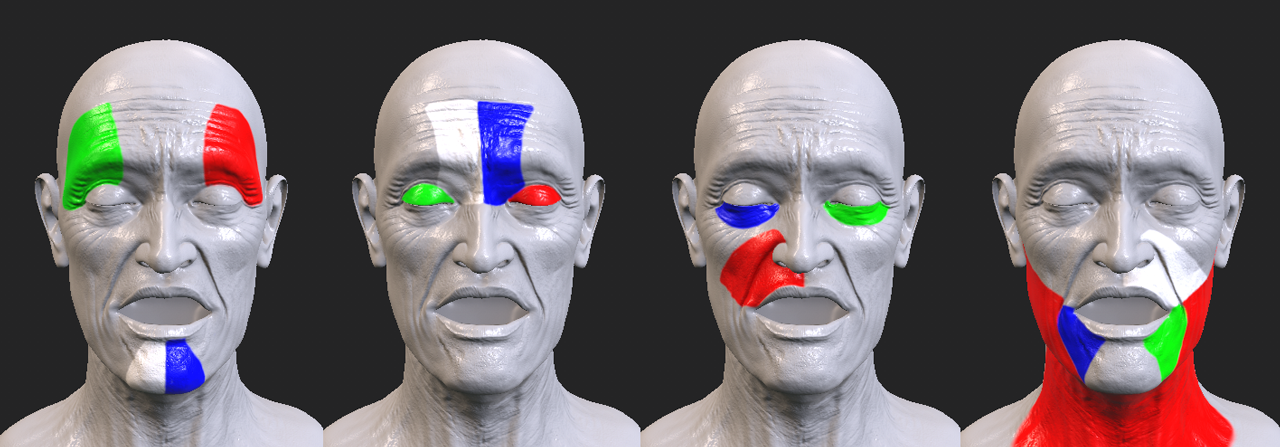
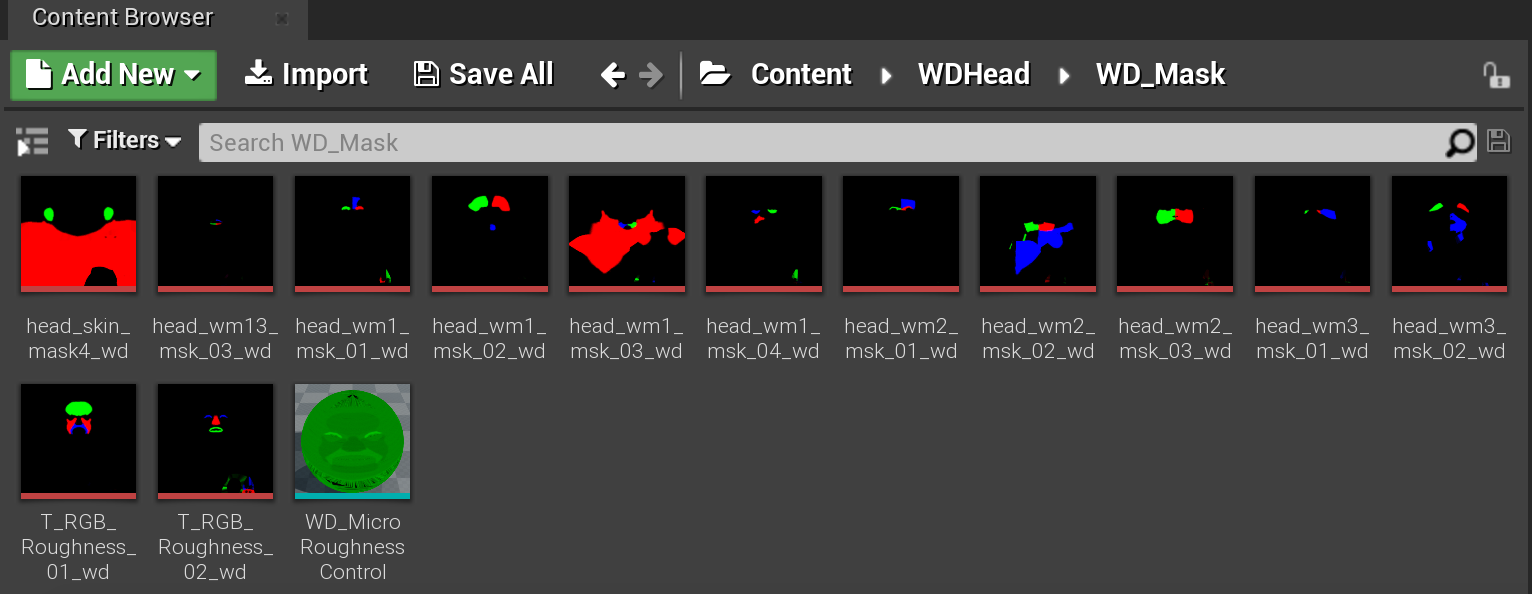
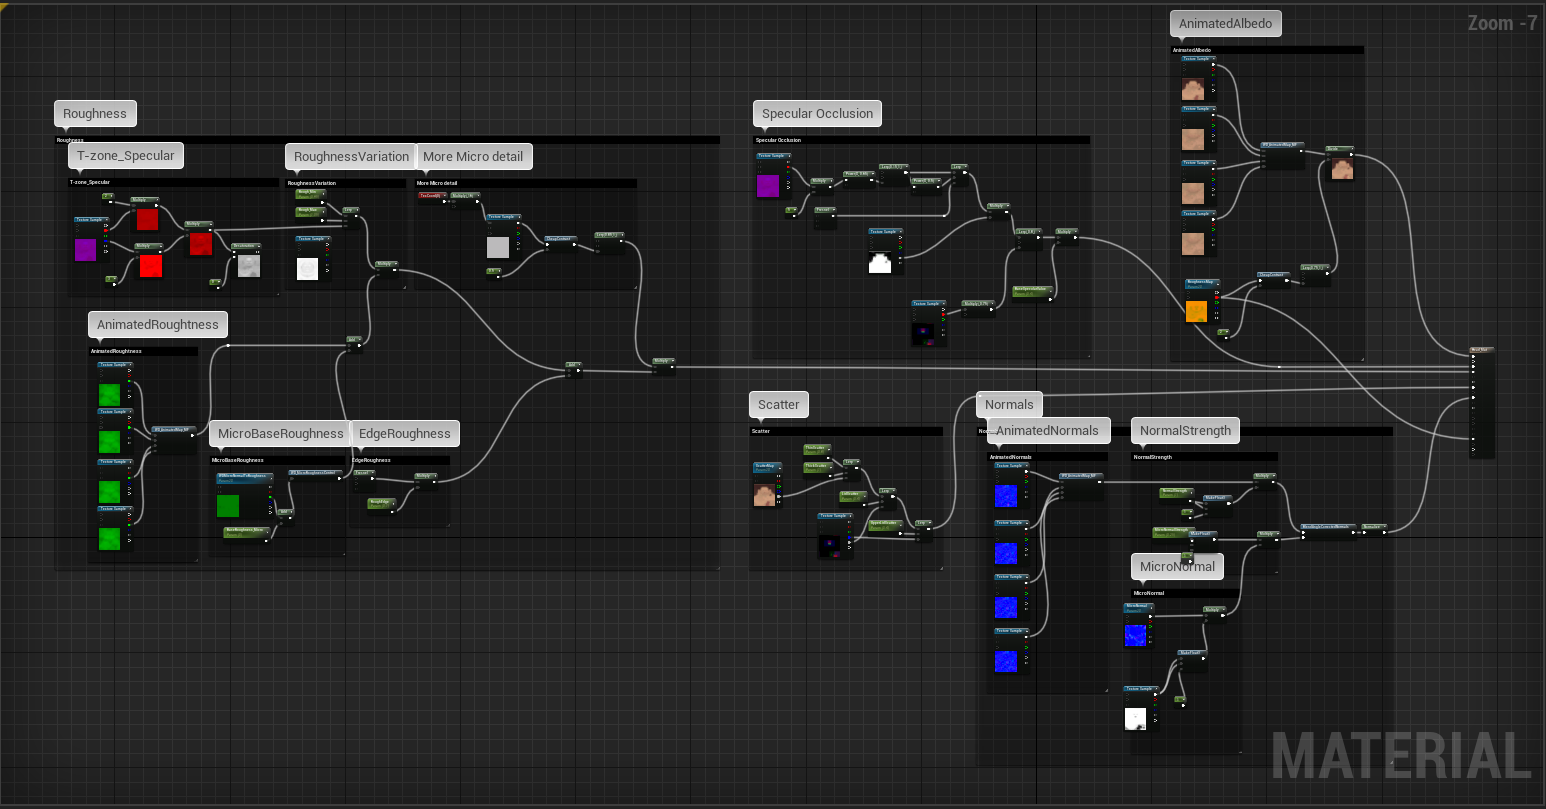
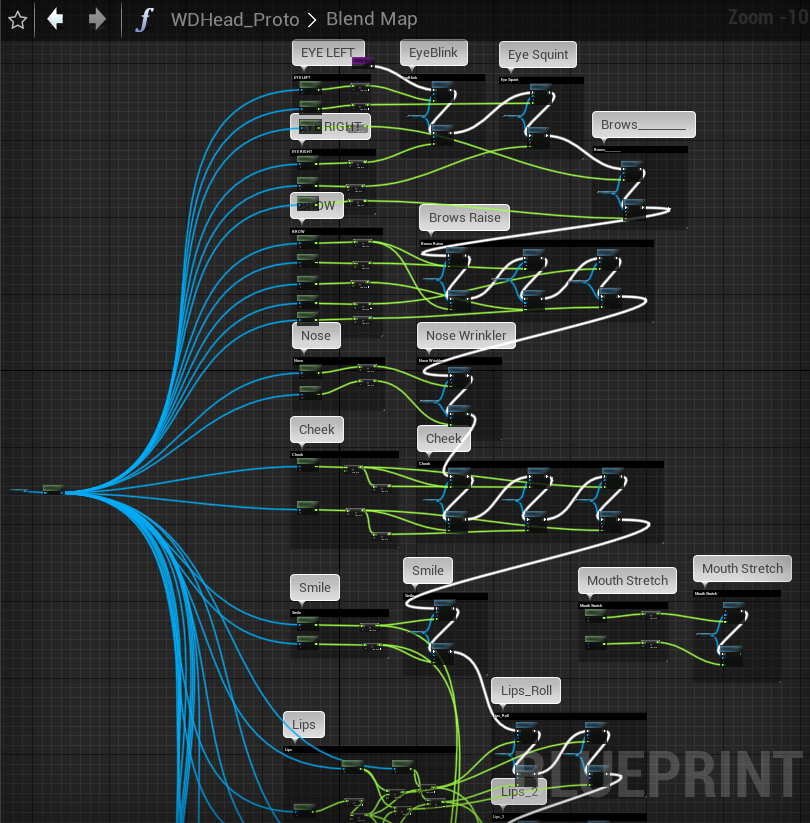
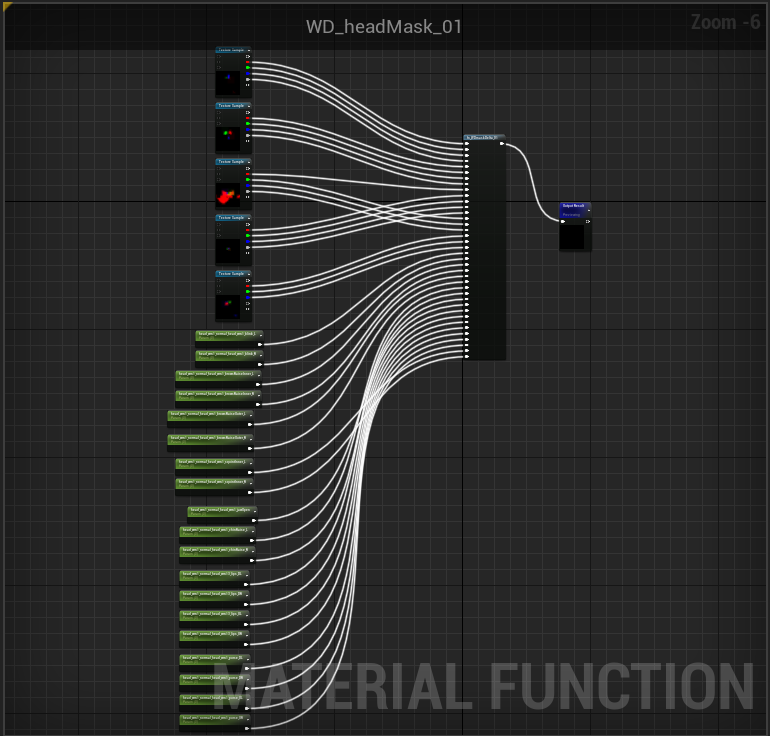
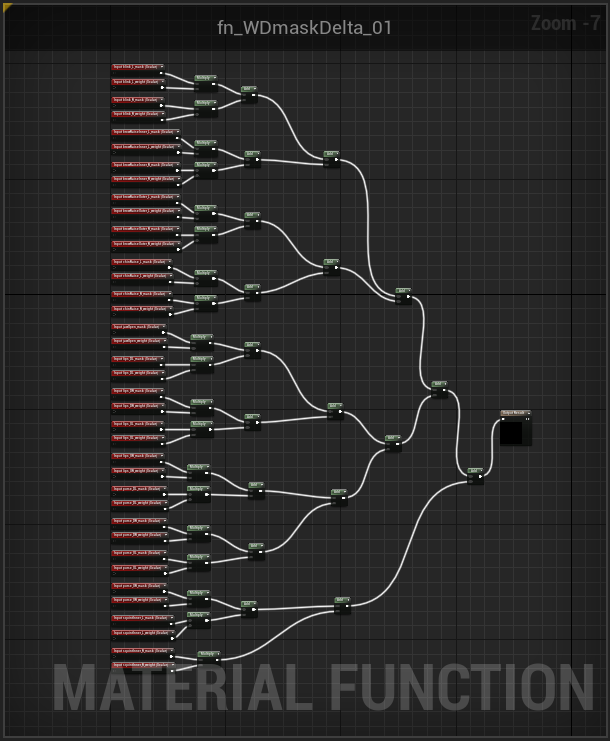
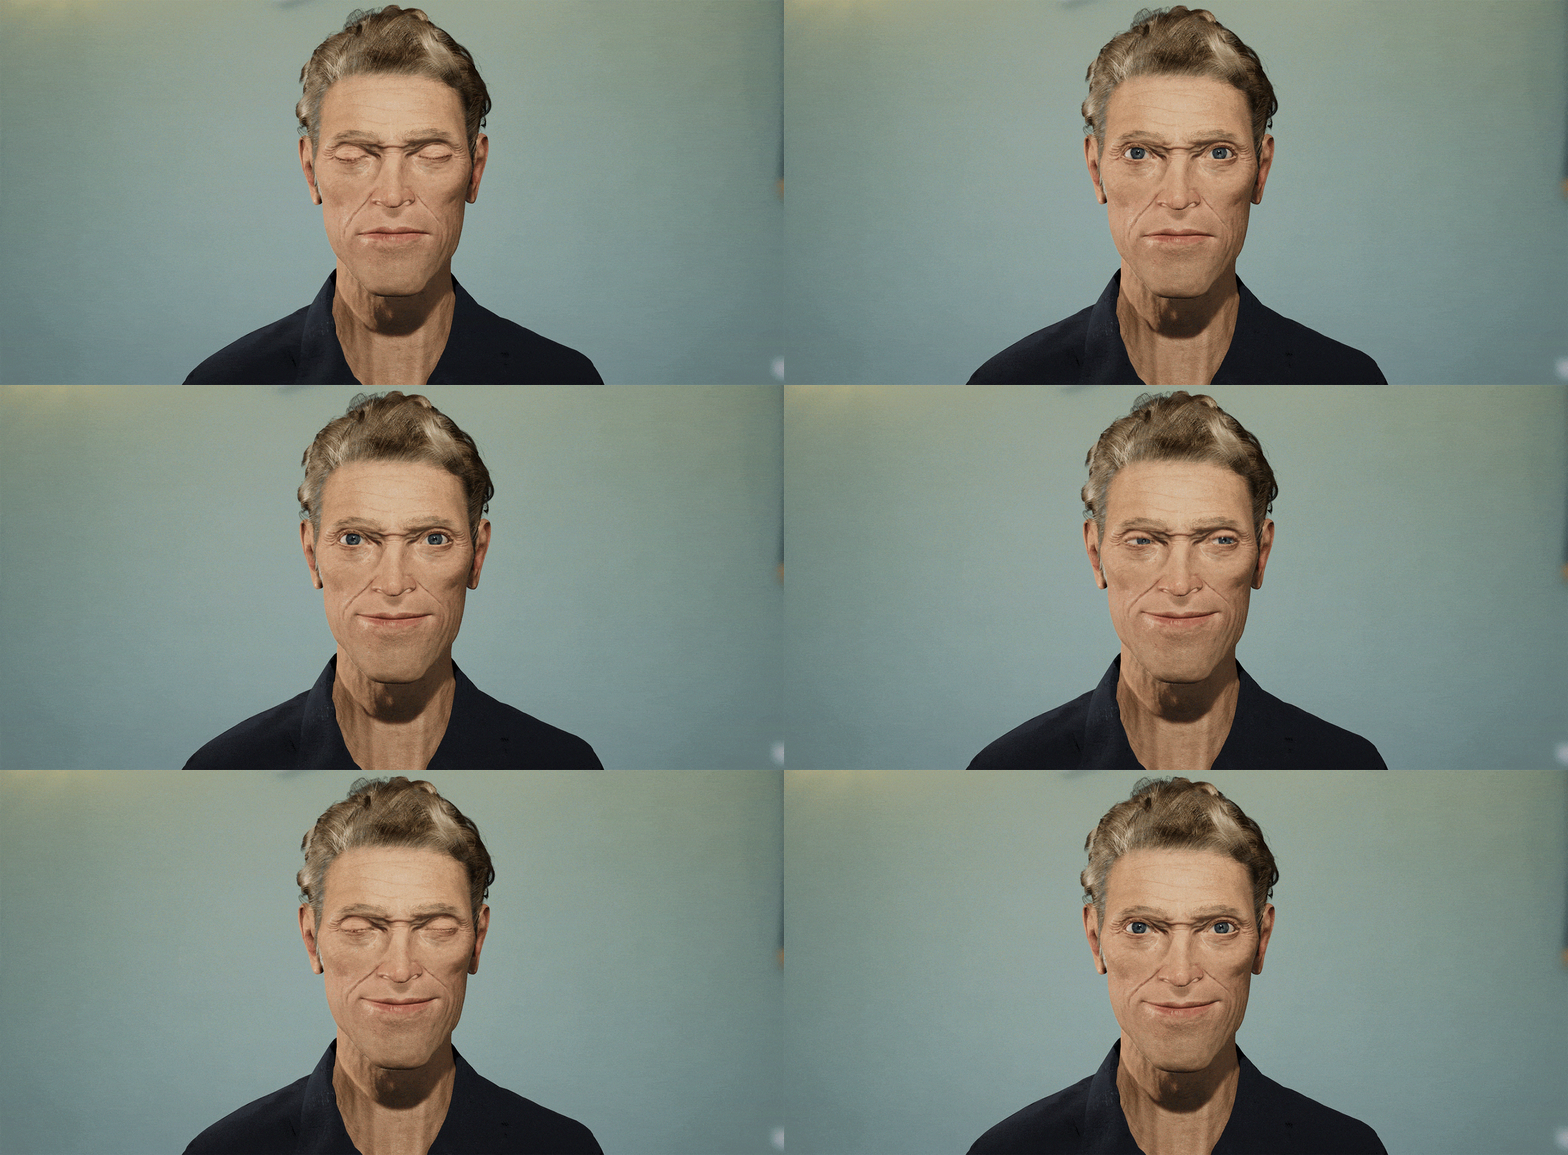
When Dafoe’s face animates in UE4, wrinkles should appear in the appropriate areas lest you end up in the uncanny valley. This is why I made 13 wrinkle masks and about 3 wrinkle maps. Just like the skin textures previously, I applied the textures of the affected areas on each channel as RGBA layers.
In this case, there are 3 facial expressions for wrinkle maps, them being collections of expressions that generate wrinkles on the model, such as browInnerUp, jawOpen, eyeBrowDown, noseSneer, eyeSquint, and mouthSmile.
Nodes were created so that facial expressions and wrinkle maps can operate every frame. Particularly, the wrinkle map is implemented when the tick function is executed by creating a function that outputs a map suitable for each area for each animation.

